Buttery Garlic Pizza- Irresistible Flavor Explosion
Buttery garlic pizza is more than just a meal; it’s a warm hug for your taste buds, a comforting embrace that always hits the spot. We all have those days when only something undeniably delicious and gloriously simple will do, and that’s precisely where this sensational creation shines. What is it about the irresistible combination of rich, melted butter and pungent, roasted garlic that makes us swoon? Perhaps it’s the way the golden, crisp crust cradles that savory, aromatic topping, transforming a humble canvas into a masterpiece of flavor. This buttery garlic pizza is that go-to recipe you’ll reach for again and again, perfect for a cozy night in, a casual gathering, or when you simply need a little bit of culinary magic in your life. It’s the kind of food that brings smiles to faces and leaves everyone asking for the recipe.
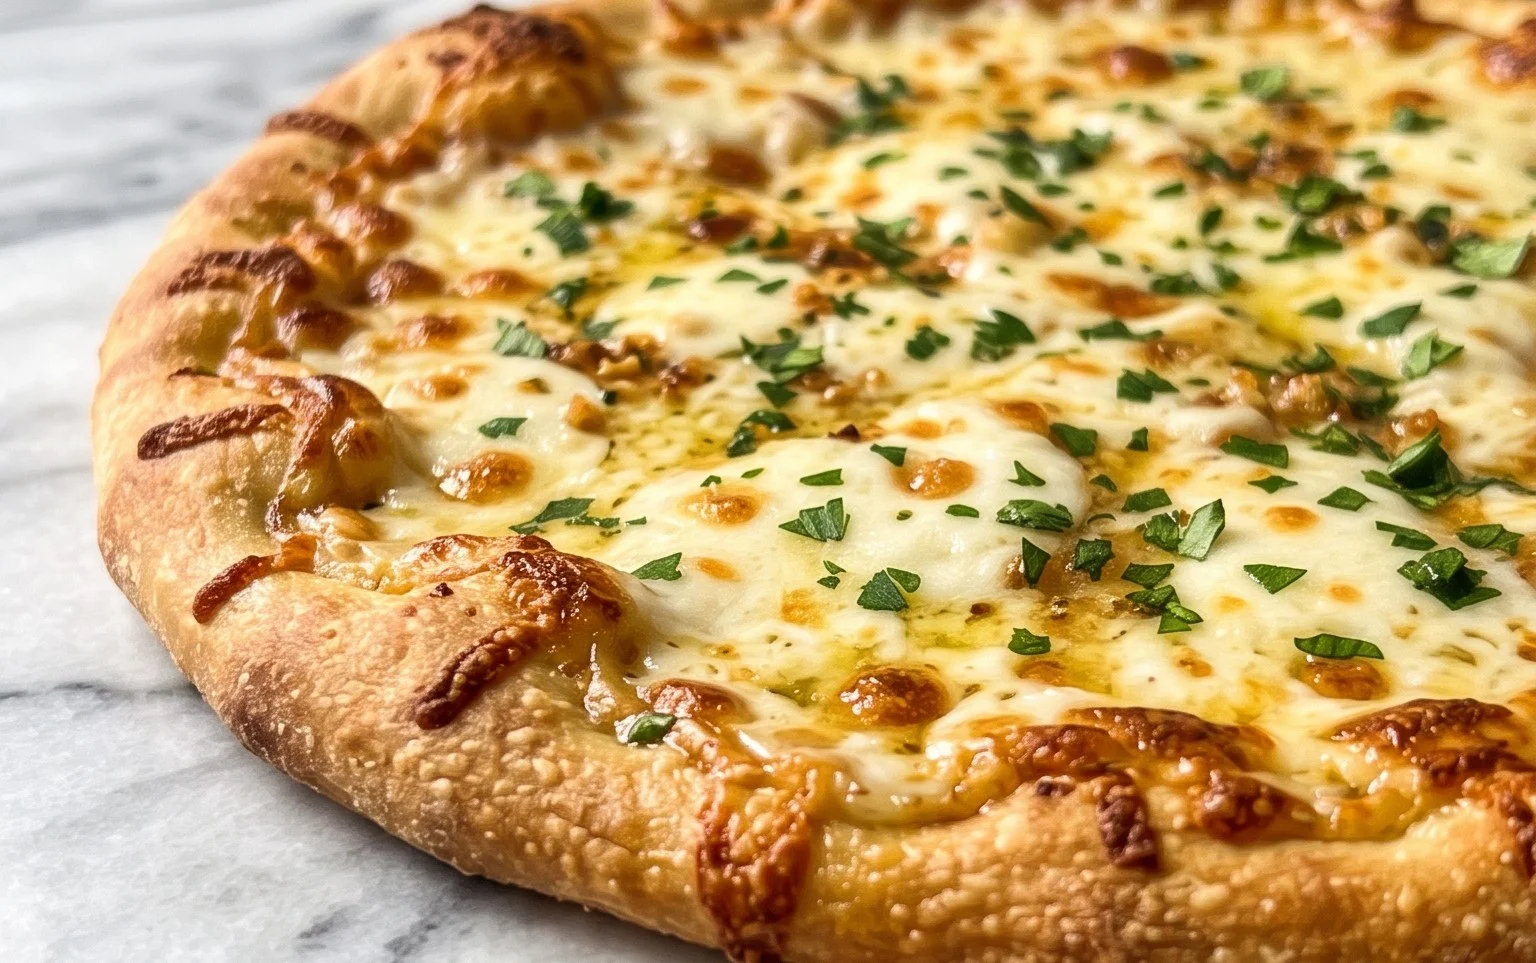
Buttery Garlic Pizza
There are certain flavor combinations that are simply undeniable. The rich, comforting embrace of butter, the pungent kick of garlic, and the satisfying chew of a good pizza crust – it’s a trifecta of deliciousness that I can’t resist. This buttery garlic pizza is my go-to when I’m craving something deeply savory and incredibly easy to make. It’s perfect for a weeknight treat, an appetizer for friends, or even a light lunch. The beauty of this recipe lies in its simplicity; it lets the quality of the ingredients shine through, with the fragrant herbs adding a wonderful aromatic depth.
Ingredients:
Crafting Your Buttery Garlic Masterpiece
This recipe is all about building layers of flavor. We’ll start by creating a vibrant, herby garlic butter that will be the soul of our pizza. Then, we’ll get that glorious dough ready and bake it to golden perfection.
Step 1: Infusing the Garlic Butter
The first and most crucial step is to create our aromatic garlic butter. Take your entire stick of salted butter and place it in a small saucepan over low heat. We want to melt this gently; avoid any browning or scorching. Once the butter has completely melted, add your chopped garlic cloves. Let the garlic simmer in the butter for about 5-7 minutes. This slow infusion process allows the garlic to soften and release its pungent oils into the butter, creating a deeply flavored foundation. You’ll notice a beautiful aroma filling your kitchen – that’s a good sign! After the garlic has infused, stir in the minced rosemary and fresh thyme. These herbs will also release their essential oils, adding a wonderful earthy and slightly piney aroma to the butter. Continue to cook for another 1-2 minutes, just until the herbs are fragrant. Remove the pan from the heat and let this magnificent garlic herb butter steep while you prepare the pizza dough. This allows the flavors to meld and deepen even further.
Step 2: Preparing the Pizza Dough
While your garlic butter is infusing, it’s time to get your pizza dough ready. If you’re using pre-made dough, ensure it’s at room temperature. This makes it much easier to stretch without it snapping back. If you’re making your own dough, follow your recipe’s instructions for proofing and shaping. For this recipe, I like to shape my dough into thin, rustic rounds, about 10-12 inches in diameter. You can use your hands to gently stretch the dough, or a rolling pin if you prefer a more uniform shape. The key is to avoid overworking the dough at this stage. Place the shaped dough rounds on parchment paper-lined baking sheets or pizza peels. This will make transferring them to the oven much easier. I usually preheat my oven to its highest setting, typically around 475-500°F (245-260°C), with a pizza stone or baking steel inside if you have one. A hot oven is essential for a crispy crust.
Step 3: Assembling the Buttery Garlic Base
Now comes the fun part – slathering on that glorious garlic butter! Once your pizza dough is shaped, it’s time to generously brush the melted garlic herb butter all over the surface of each dough round, making sure to go all the way to the edges. Don’t be shy; this butter is what gives the pizza its signature rich flavor and helps create a beautifully golden, slightly crispy crust. Try to distribute the garlic and herb pieces evenly as you brush. If there are any larger pieces of garlic that seem like they might burn too quickly, you can gently scoop them off and spread them more thinly. This step is where the magic really begin extracts to happen, coating the dough with pure deliciousness.
Step 4: Baking to Golden Perfection
Carefully transfer your prepared pizza dough onto the preheated pizza stone or baking steel (or directly onto the oven rack if you don’t have one, though a stone/steel is highly recommended for an even crispier bottom crust). Bake for 8-12 minutes, or until the crust is beautifully golden brown and puffed up. Keep an eye on it, as ovens can vary. The dough should be cooked through and have a satisfying crispness. You’re looking for those lovely browned spots on the crust, indicating it’s perfectly baked. The aroma that will fill your kitchen during this stage is absolutely non-intoxicating – a blend of baked dough, garlic, and herbs.
Step 5: The Finishing Touches**
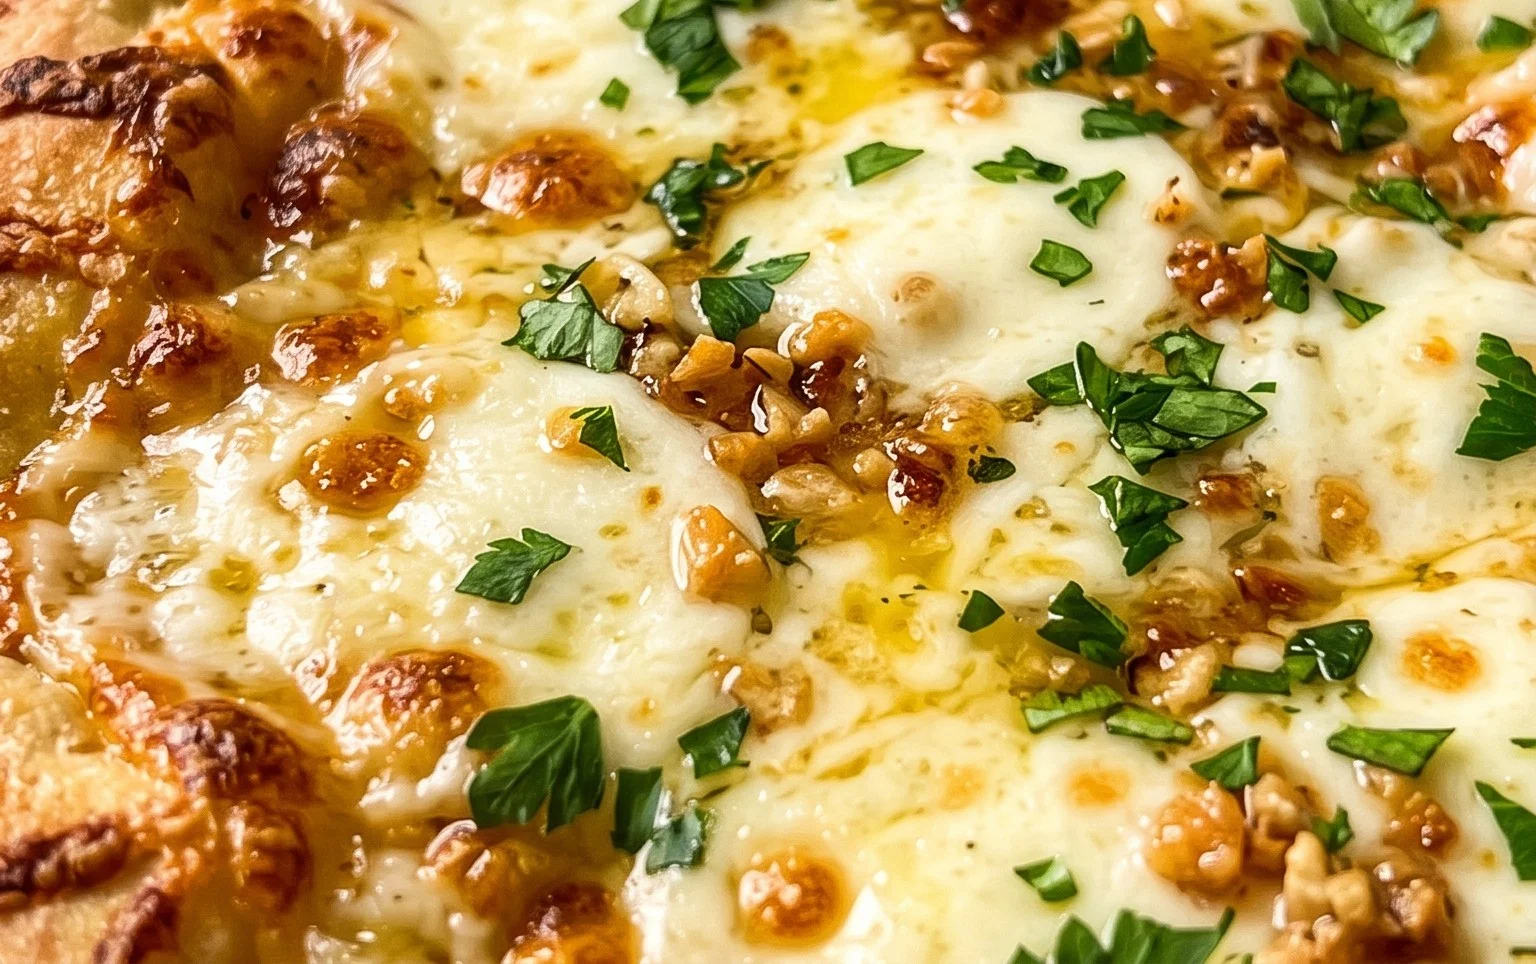
Once the pizza is baked to perfection, carefully remove it from the oven. Now it’s time for the final flourish! While the pizza is still hot, sprinkle it generously with flaky salt and freshly ground black pepper. The salt enhances all the savory flavors, and the pepper adds a subtle bite. If you enjoy a little heat, this is also the time to sprinkle on some red pepper flakes, to your personal taste. Finally, scatter the minced chives over the top. The chives add a fresh, oniony brightness that cuts through the richness of the butter and garlic beautifully. They also provide a lovely pop of color. Let the pizza sit for just a minute or two before slicing and serving. This allows the flavors to settle and makes for easier cutting. Enjoy this incredibly simple yet decadent buttery garlic pizza!
Conclusion:
There you have it – your guide to crafting the most irresistibly delicious buttery garlic pizza! This recipe truly shines because of its simplicity and the incredible flavor payoff. The combination of melted butter, fragrant garlic, and perfectly crisp pizza crust creates a flavor profile that’s both comforting and utterly craveable. It’s the perfect dish for a weeknight treat, a fun family activity, or even to impress guests with minimal fuss. I can’t wait for you to try it and experience the magic for yourself!
When it comes to serving, this buttery garlic pizza is incredibly versatile. It’s fantastic on its own, of course, but also pairs beautifully with a crisp green salad to balance the richness. For a heartier meal, consider serving it alongside roasted chicken or a light pasta dish. Don’t be afraid to experiment with variations! Add a sprinkle of red pepper flakes for a touch of heat, toss in some fresh herbs like parsley or chives after baking, or even grate some Parmesan cheese over the top for an extra layer of savory goodness. I encourage you to dive in and make this incredible pizza tonight!
Frequently Asked Questions:
Can I use store-bought pizza dough?
Absolutely! Using store-bought pizza dough is a fantastic shortcut and will still yield a delicious buttery garlic pizza. Just follow the baking instructions on the dough packagin extractg and then proceed with the garlic butter topping and cheese. It’s a great way to save time!
What kind of garlic should I use?
Fresh garlic is highly recommended for the best flavor. You can mince it finely for a more evenly distributed garlic flavor, or if you prefer a milder, sweeter garlic taste, you can roast whole garlic cloves until soft and then mash them into a paste before mixing with the butter. Both methods are wonderful!
How can I make this pizza vegan?
To make a vegan version, substitute the butter with a good quality vegan butter alternative. For the cheese, use your favorite shredded vegan mozzarella or a blend of vegan cheeses that melts well. The garlic and crust will still provide that amazing base flavor!
Buttery Garlic Pizza
A simple yet flavorful pizza featuring a rich buttery garlic sauce, fresh herbs, and a hint of spice.
Ingredients
-
1 recipe artisan pizza dough (2 dough balls)
-
1 stick salted butter
-
3 garlic cloves, chopped
-
2 tbsp minced green onion
-
1 tbsp minced rosemary
-
1 tbsp fresh thyme
-
flaky salt
-
freshly ground black pepper
-
red pepper flakes, to taste
-
2 tbsp minced chives
Instructions
-
Step 1
Preheat your oven and pizza stone (if using) according to pizza dough instructions. -
Step 2
In a small saucepan over medium heat, melt the salted butter. Add the chopped garlic and cook until fragrant, about 1 minute, being careful not to burn it. -
Step 3
Stir in the minced green onion, minced rosemary, and fresh thyme into the butter and garlic mixture. Cook for another minute until herbs are fragrant. -
Step 4
Gently stretch or roll out one dough ball to your desired pizza shape. -
Step 5
Brush the buttery garlic herb mixture generously over the pizza dough, leaving a small border for the crust. -
Step 6
Season with flaky salt, freshly ground black pepper, and red pepper flakes to taste. -
Step 7
Transfer the pizza to the preheated oven or pizza stone and bake until the crust is golden brown and the toppings are bubbly. Follow your pizza dough’s recommended baking time. -
Step 8
Remove from oven, sprinkle with minced chives, slice, and serve immediately. Repeat with the second dough ball.
Important Information
Nutrition Facts (Per Serving)
It is important to consider this information as approximate and not to use it as definitive health advice.
Allergy Information
Please check ingredients for potential allergens and consult a health professional if in doubt.