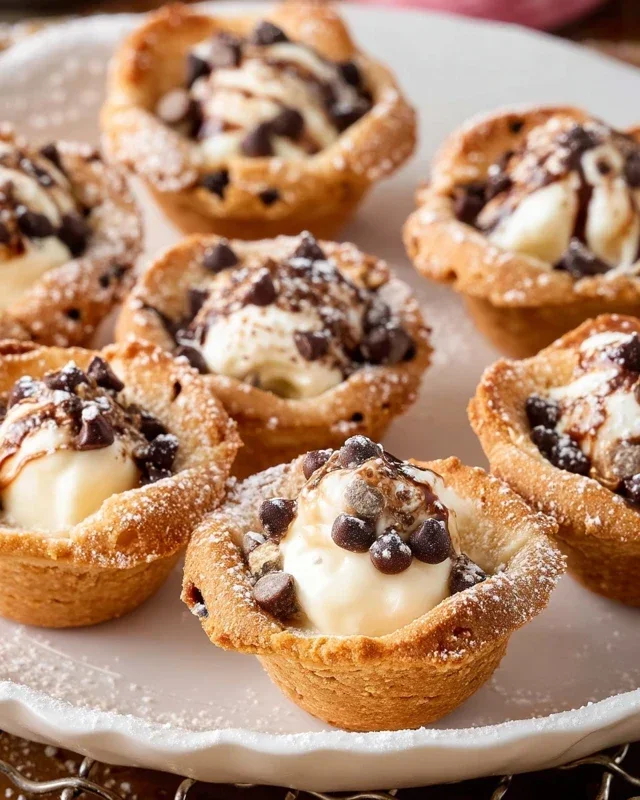
Mini Cannoli Cups- Delicious Sweet Dessert Recipe
Mini Cannoli Cups are an absolute dream for anyone with a sweet tooth, and today, I’m so excited to share my favorite way to make them! Forget the fuss of rolling dough and finding those traditional tubes; these delightful morsels capture all the classic, irresistible charm of authentic cannoli in a wonderfully easy-to-make format. The magic of a cannoli lies in that perfect harmony of textures and flavors: the shatteringly crisp shell giving way to a luxuriously smooth, sweet ricotta filling, often kissed with hints of citrus or chocolate. My Mini Cannoli Cups achieve this exquisite balance without the lengthy process, making them perfect for parties, a special treat after dinner, or simply when a craving strikes. They’re a guaranteed crowd-pleaser, evoking the joyous spirit of Italian patisseries with every single bite. Get ready to impress yourself and your loved ones with these miniature masterpieces!
Mini Cannoli Cups
Craving the delightful crunch of cannoli shells filled with creamy, sweet ricotta, but intimidated by the traditional rolling and frying process? Fear not! These Mini Cannoli Cups are your answer to a simplified, yet equally delicious, version of this classic Italian dessert. We’re trading in the complicated shell-making for a clever shortcut using store-bought pie crusts, transforming them into perfect little cups that bake up golden and crisp. The filling is a simple, luscious blend of ricotta, sugar, and a hint of citrus zest, punctuated by your choice of chocolate chips or pistachios. These are perfect for parties, a sweet afternoon treat, or anytime you want to impress with minimal fuss. Let’s get baking!
Ingredients:
Preparing the Ricotta Filling
The heart of any cannoli is its rich, creamy filling. This is where we’ll start, allowing it to chill and the flavors to meld while we prepare our “cups.”
Creating the Pie Crust Cups
This is where the magic of our shortcut happens! We’re going to use the refrigerated pie crusts to form our edible cups.
Baking and Finishing the Cups
Now it’s time to bake our crusts to a beautiful golden brown and then assemble our delicious mini cannoli.
Conclusion:
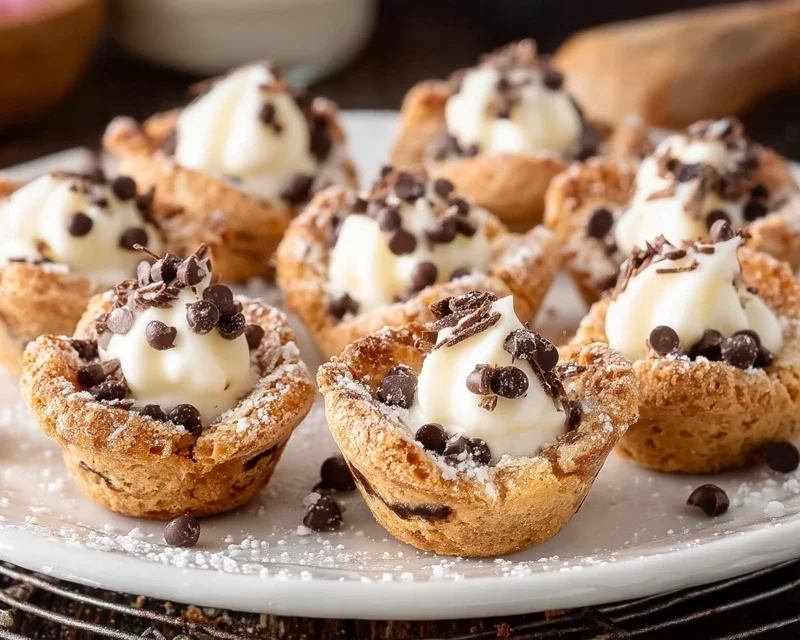
And there you have it – the delightful secret to creating your own Mini Cannoli Cups at home! This recipe is truly fantastic because it offers all the classic, irresistible flavors and textures of traditional cannoli – that crisp shell, the creamy, sweet ricotta filling, and those optional bursts of chocolate or citrus – all in a perfectly portioned, bite-sized package. They are wonderfully adaptable, making them ideal for any occasion, from casual dessert nights to elegant parties. I genuinely encourage you to give these Mini Cannoli Cups a try; you’ll be amazed at how simple and rewarding they are to make, and the smiles they bring to everyone’s faces.
For serving, imagin extracte these little delights gracing a dessert platter alongside fresh berries, dusted with a whisper of powdered sugar, or even served as a charming accompaniment to coffee or tea. If you’re feeling adventurous, consider adding finely chopped pistachios, mini chocolate chips, or even a hint of orange zest to your ricotta filling for exciting variations. Don’t be afraid to experiment and make them your own!
Frequently Asked Questions about Mini Cannoli Cups:
Can I make the cannoli shells ahead of time?
Yes, you absolutely can! Once cooled, store the baked shells in an airtight container at room temperature for up to a week. Just be sure they are completely dry before storing to maintain their crispness.
How long will the filled mini cannoli cups last?
It’s best to fill the shells just before serving for optimal texture. Filled cannoli are best enjoyed within a few hours, as the shells will begin extract to soften from the moisture of the filling. If you must make them ahead, keep the filling separate and assemble right before guests arrive.
What if I don’t have mini cannoli forms?
No problem at all! You can adapt this recipe by using small round cookie cutters or even by shaping the dough into small discs and baking them until golden and slightly cupped. They might not have the iconic tube shape, but the delicious flavor will be just the same!
Mini Cannoli Cups
Delightful mini cannoli cups made with creamy ricotta filling and a sweet, spiced pie crust.
Ingredients
-
1 container whole-milk ricotta cheese (15 oz., drained)
-
1/2 cup powdered sugar
-
2 tablespoons granulated sugar
-
1 teaspoon finely grated orange zest
-
1/2 teaspoon vanilla extract
-
1 box refrigerated pie crusts, softened as directed on box (2 count )
-
3 tablespoons turbinado sugar
-
1 teaspoon ground cinnamon
-
1/4 cup miniature semisweet chocolate chips
-
additional powdered sugar for dusting
Instructions
-
Step 1
Preheat oven to 375°F (190°C). Lightly grease muffin tins. -
Step 2
In a medium bowl, combine the drained ricotta cheese, 1/2 cup powdered sugar, 2 tablespoons granulated sugar, orange zest, and vanilla extract. Mix until smooth and well combined. Stir in chocolate chips. -
Step 3
Unroll the refrigerated pie crusts. Cut out 2-inch circles using a cookie cutter or glass. Gently press each circle into the greased muffin tin cups to form a shell. -
Step 4
Bake for 10-12 minutes, or until the crusts are lightly golden brown and crisp. Let cool in the muffin tin for a few minutes before transferring to a wire rack to cool completely. -
Step 5
In a small bowl, combine the turbinado sugar and ground cinnamon. Mix well. -
Step 6
Once the crusts are completely cool, spoon the ricotta filling into each mini cannoli cup. Sprinkle the tops with the cinnamon-sugar mixture. Dust with additional powdered sugar if desired.
Important Information
Nutrition Facts (Per Serving)
It is important to consider this information as approximate and not to use it as definitive health advice.
Allergy Information
Please check ingredients for potential allergens and consult a health professional if in doubt.