Best Banana Bread Recipe – Easy Moist & Delicious
The Best Banana Bread Recipe is a comforting classic for a reason. It’s that perfect blend of sweet, moist, and wonderfully aromatic that makes a slice of banana bread feel like a warm hug. Who doesn’t adore the way ripe bananas transform into a tender, flavorful loaf, filling your kitchen with an irresistible scent as it bakes? This isn’t just any banana bread; this is the banana bread. It’s the kind of recipe that becomes a family heirloom, passed down through generations, consistently delivering a moist crum extractb, a perfectly sweet balance, and just the right hint of spice. What truly sets this Best Banana Bread Recipe apart is its foolproof simplicity, ensuring even novice bakers can achieve bakery-worthy results. Get ready to elevate your banana bread game!
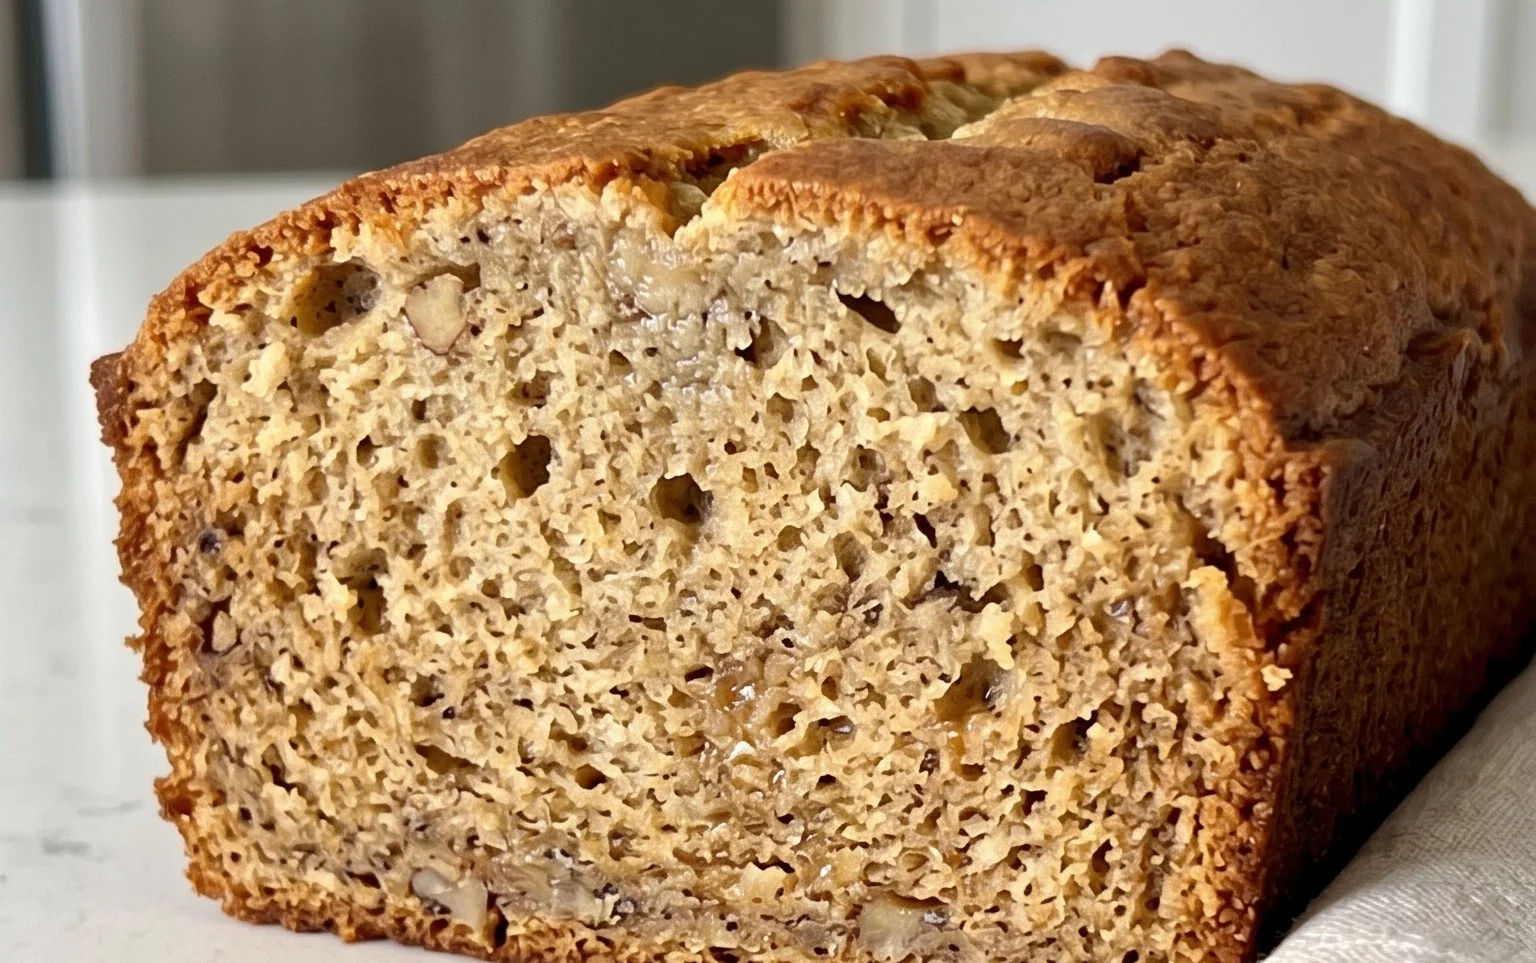
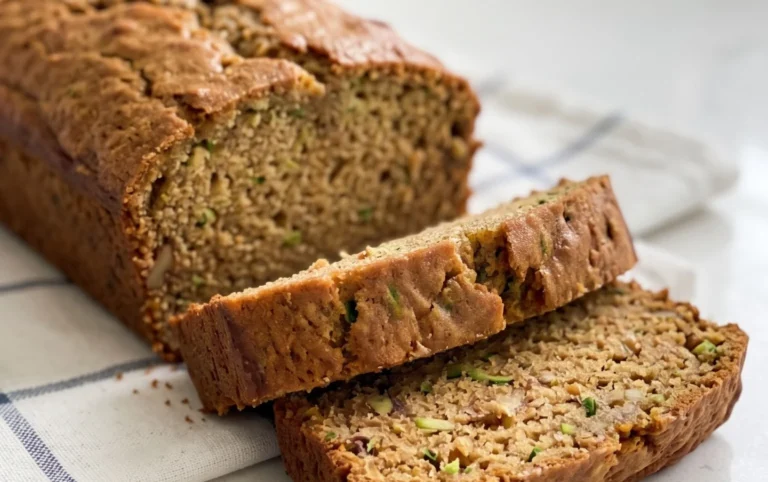
Best Banana Bread Recipe
There are few things as comforting and universally loved as a slice of warm, moist banana bread. It’s the perfect treat for breakfast, a delightful afternoon snack, or even a simple dessert. And while many banana bread recipes exist, this one is truly special. It’s my go-to, the recipe that consistently delivers that perfect balance of sweetness, banana flavor, and a wonderfully tender crum extractb. The key lies in using ripe, spotty bananas, which are packed with natural sugars and contribute an unparalleled depth of flavor and moisture. This recipe is straightforward, forgiving, and always a crowd-pleaser. Let’s get baking!
Ingredients:
Getting Started: Preparing Your Ingredients and Equipment
Before we dive into the mixing, let’s ensure we have everything ready. Preheat your oven to 350 degrees Fahrenheit (175 degrees Celsius). Grease and flour a 9×5 inch loaf pan, or line it with parchment paper for easy removal. This step is crucial to prevent your delicious banana bread from sticking to the pan. Next, gather all your ingredients and measure them accurately. Having everything pre-measured and within reach will make the process smoother and more enjoyable. Ensure your butter is truly at room temperature – soft enough to indent with your finger but not melted. This will help it cream beautifully with the sugar, creating a lighter texture. For the bananas, the riper, the better! Look for bananas with plenty of brown spots; they’ll be sweeter and easier to mash.
Step-by-Step Instructions:
1. Creaming the Butter and Sugar: In a large mixing bowl, combine the softened unsalted butter and granulated sugar. Using an electric mixer (or a sturdy whisk and some elbow grease), beat the butter and sugar together until the mixture is light, fluffy, and pnon-alcoholic ale yellow. This process, known as creaming, incorporates air into the batter, which contributes to the bread’s tender texture and rise. This usually takes about 3-5 minutes of consistent beating. Scrape down the sides of the bowl occasionally to ensure everything is well combined.
2. Adding the Eggs and Vanilla: Add the two large eggs to the creamed butter and sugar mixture, one at a time, beating well after each addition until fully incorporated. If the mixture looks like it’s starting to curdle, don’t worry; this is normal. Just continue beating, and it should come together. Once the eggs are incorporated, stir in the vanilla extract. The vanilla enhances the sweetness and adds a lovely aromatic note to the banana bread.
3. Combining Dry Ingredients: In a separate medium bowl, whisk together the all-purpose flour, baking soda, and salt. Whisking these dry ingredients together ensures that the leavening agent (baking soda) and salt are evenly distributed throughout the flour, which is essential for a consistent rise and flavor. This simple step helps avoid dense or unevenly baked spots in your finished loaf.
4. Incorporating the Bananas and Dry Ingredients: Add the mashed bananas to the wet ingredients and stir until just combined. Now, gradually add the dry ingredients to the wet ingredients, mixing on low speed (or by hand) until just combined. It’s crucial not to overmix the batter at this stage. Overmixing can develop the gluten in the flour too much, resulting in a tough and chewy banana bread. A few streaks of flour are perfectly fine; they will disappear during baking.
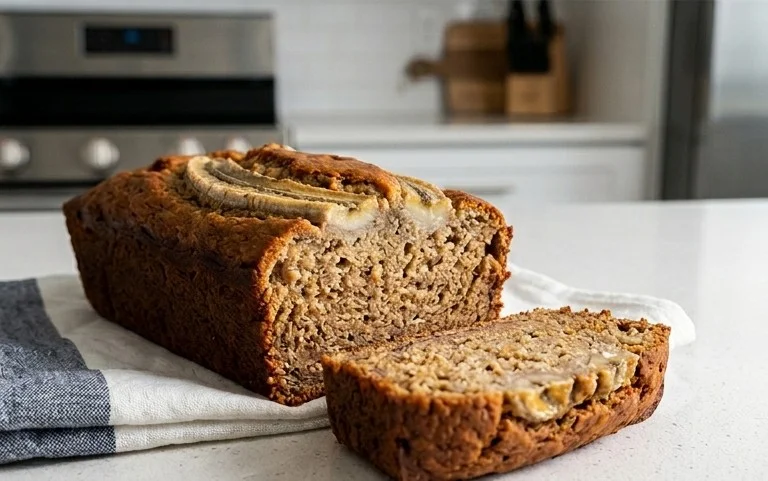
5. Baking Your Masterpiece: Pour the batter into your prepared loaf pan and spread it evenly. Bake in the preheated oven for 50-65 minutes, or until a wooden skewer or toothpick inserted into the center comes out clean. The baking time can vary depending on your oven, so it’s important to keep an eye on it. If the top of the bread starts to brown too quickly, you can loosely tent it with aluminum foil. Once baked, let the banana bread cool in the pan for about 10-15 minutes before carefully inverting it onto a wire rack to cool completely. This cooling process allows the structure of the bread to set, making it easier to slice and ensuring a perfect texture.
Enjoy your delicious, homemade banana bread! It’s fantastic served warm with a smear of butter, or at room temperature. It also freezes beautifully, so you can enjoy a slice whenever the craving strikes.
Conclusion:
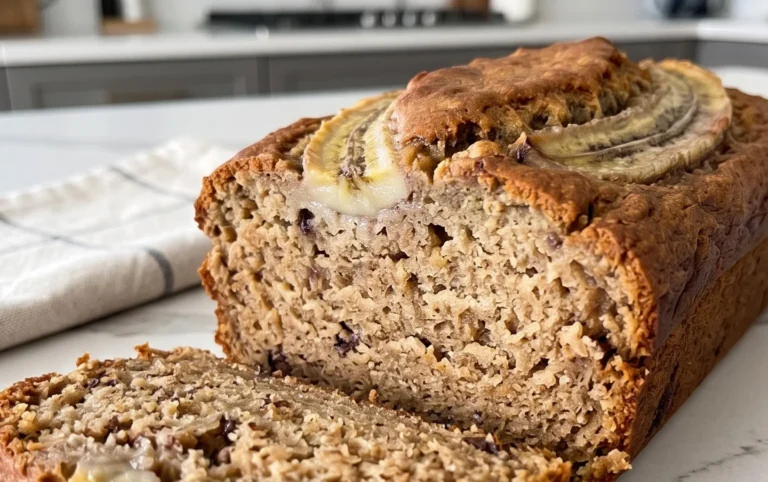
You’ve reached the end of our guide to the Best Banana Bread Recipe, and I truly hope you’re feeling inspired to get baking! This recipe stands out because of its perfect balance of moistness, tender crum extractb, and rich banana flavor, achieved through simple ingredients and straightforward steps. It’s a classic for a reason, and I’m confident it will become your go-to for a comforting, delicious treat.
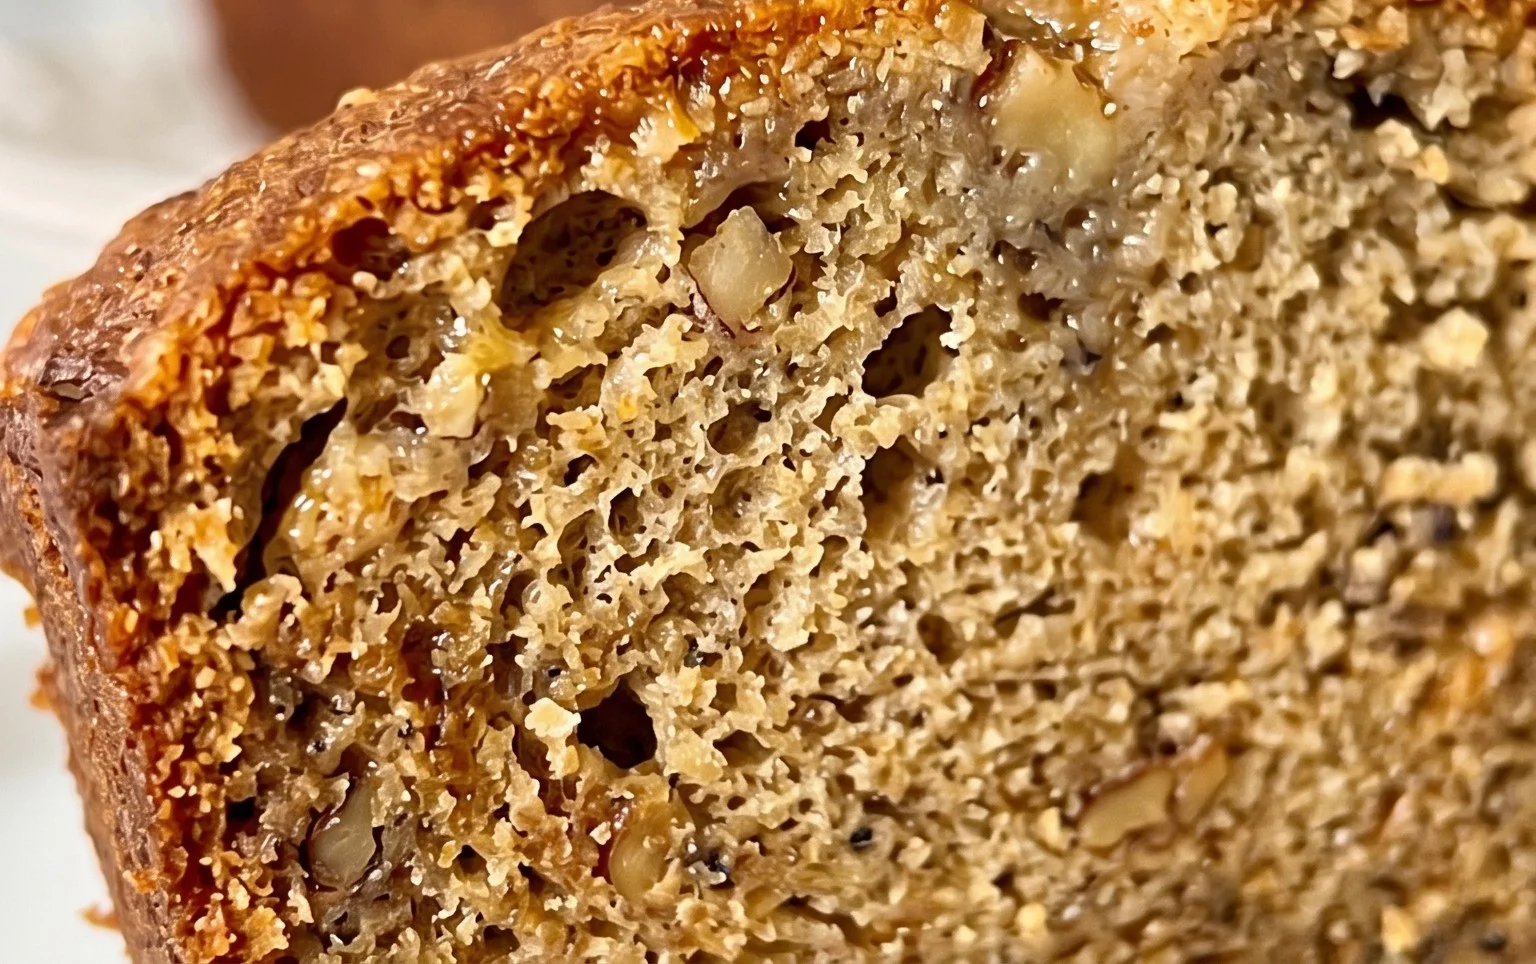
Serve slices warm, perhaps with a dollop of cream cheese, a drizzle of honey, or a smear of butter for an extra layer of indulgence. For a delightful breakfast or brunch option, pair it with a cup of coffee or tea. This versatile bread also makes a wonderful base for creative variations. Don’t hesitate to stir in chocolate chips, chopped nuts (walnuts and pecans are fantastic), or even a hint of cinnamon or nutmeg for added depth. Feel free to experiment and make it your own! I encourage you to try this recipe soon; the aroma filling your kitchen alone is worth it.
Frequently Asked Questions:
Q: My banana bread is too dense. What did I do wrong?
A common culprit for dense banana bread is overmixing the batter once the flour is added. Be sure to mix just until the dry ingredients are incorporated. Overworking the gluten can lead to a tough texture. Also, ensure your leavening agents (baking soda and baking powder) are fresh.
Q: Can I use frozen bananas for this recipe?
Absolutely! Frozen bananas are often even better for banana bread as they are riper and break down more easily, contributing more moisture and sweetness. Just thaw them completely and drain off any excess liquid before mashing.
Q: How long does this banana bread last?
Stored properly at room temperature in an airtight container, your delicious banana bread should stay fresh for about 3-4 days. For longer storage, you can refrigerate it for up to a week, or freeze individual slices or the whole loaf for up to 3 months.
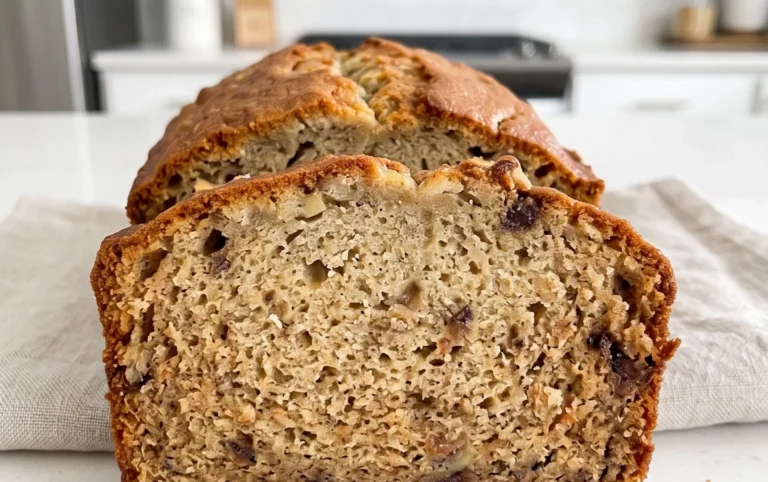
Best Banana Bread Recipe
A moist and flavorful banana bread, perfect for using up ripe bananas. Simple to make and always a crowd-pleaser.
Ingredients
-
1/2 cup unsalted butter, at room temperature
-
1 cup granulated sugar
-
2 large eggs
-
2 cups all purpose flour
-
1 tsp baking soda
-
1/2 tsp salt
-
3 medium bananas, mashed
-
1 tsp vanilla extract
Instructions
-
Step 1
Preheat oven to 350°F (175°C). Grease and flour a 9×5 inch loaf pan. -
Step 2
In a large bowl, cream together the softened butter and granulated sugar until light and fluffy. -
Step 3
Beat in the eggs one at a time, then stir in the vanilla extract. -
Step 4
In a separate bowl, whisk together the all-purpose flour, baking soda, and salt. -
Step 5
Gradually add the dry ingredients to the wet ingredients, mixing until just combined. Do not overmix. -
Step 6
Fold in the mashed bananas until evenly distributed. -
Step 7
Pour the batter into the prepared loaf pan and spread evenly. -
Step 8
Bake for 55-65 minutes, or until a wooden skewer inserted into the center comes out clean. -
Step 9
Let the banana bread cool in the pan for 10 minutes before transferring it to a wire rack to cool completely.
Important Information
Nutrition Facts (Per Serving)
It is important to consider this information as approximate and not to use it as definitive health advice.
Allergy Information
Please check ingredients for potential allergens and consult a health professional if in doubt.