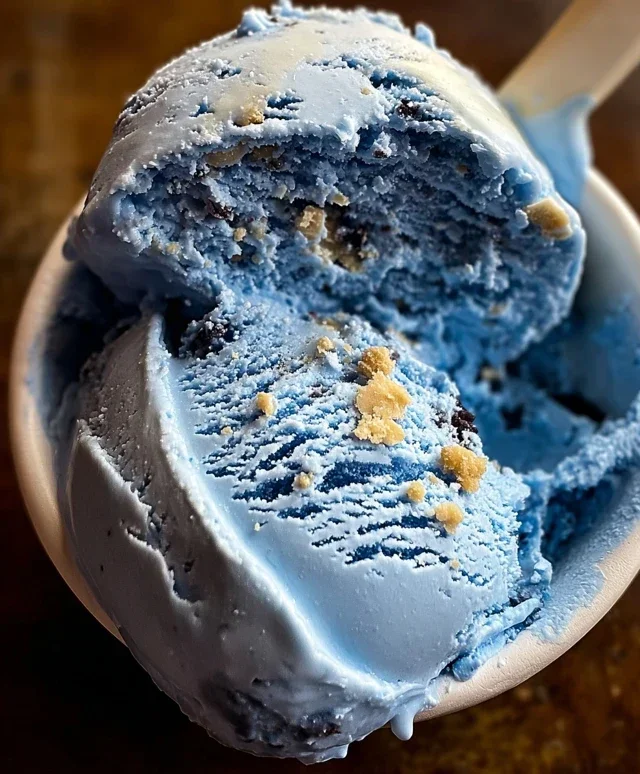
Blue Moon Ice Cream- Heavenly No-Churn Delight
Blue Moon Ice Cream isn’t just a flavor; it’s a nostalgic trip back in time for many of us. Remember those vibrant, almost otherworldly blue scoops from childhood ice cream parlors? That unmistakable, slightly fruity, and delightfully creamy taste is something truly special. It’s a flavor that sparks joy and curiosity, often leaving people wondering what exactly gives Blue Moon Ice Cream its unique character. Is it a secret ingredient? A special blend of extracts? Whatever the magic, the charm of this bright blue delight lies in its whimsical color and its surprisingly complex yet comforting flavor profile. Today, we’re diving deep to recreate that beloved Blue Moon Ice Cream experience right in your own kitchen. Get ready to churn up some pure, unadulterated happiness!
Blue Moon Ice Cream
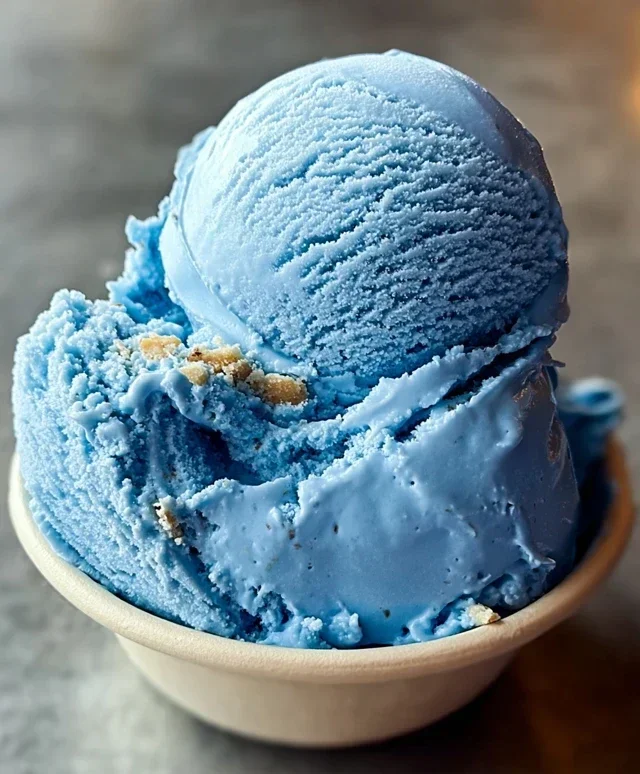
There’s something undeniably whimsical and intriguing about Blue Moon Ice Cream. Its vibrant, unexpected hue instantly sparks curiosity, and its subtly sweet, often almond-kissed flavor is a delightful departure from more common ice cream varieties. This recipe aims to capture that unique magic in your own kitchen, allowing you to churn out a batch of this captivating frozen treat that’s perfect for a summer day, a fun dessert, or whenever you’re craving something a little out of the ordinary. Forget the store-bought versions; making your own Blue Moon Ice Cream is surprisingly straightforward and incredibly rewarding. The secret lies in a few key ingredients that come together to create its signature taste and stunning visual appeal. Let’s dive in and create this frozen delight!
Ingredients:
The Making of Our Blue Moon Masterpiece
This recipe is designed for an ice cream maker, which will give you the smoothest, creamiest texture. If you don’t have one, don’t despair! There are no-churn methods available, but the results will be slightly different in texture. For this guide, we’ll assume you’re using a standard ice cream maker. The process involves creating a rich custard base, infusing it with those special flavors, and then letting the magic of churning transform it into ice cream.
Phase 1: Crafting the Sweet Base
The foundation of any great ice cream is a well-balanced base, and ours is no exception. We’ll start by combining the liquid ingredients and sugar.
Phase 2: Achieving the Iconic Hue
Now comes the fun part – transforming our creamy base into the vibrant Blue Moon we know and love. This requires a careful hand with food coloring.
Phase 3: The Churning Process
This is where your ice cream maker truly shines. The cold of the bowl and the continuous churning incorporate air and create those tiny ice crystals that define smooth ice cream.
Phase 4: Adding Optional Delights and Freezing to Perfection
For those who enjoy a little something extra in their ice cream, this is the stage to incorporate it. And then, we let it become truly scoopable.
Enjoy your homemade Blue Moon Ice Cream! Its unique color and delightful flavor are sure to impress.
Conclusion:
And there you have it – a step-by-step guide to creating your very own batch of vibrant Blue Moon ice cream! We hope you’re as excited to try this recipe as we are to share it. This recipe is truly great because it captures that classic, slightly mysterious flavor profile that Blue Moon ice cream is known for, all from the comfort of your own kitchen. The bright blue hue is not only visually appealing but also hints at the unique and delightful taste that awaits. We encourage you to gather your ingredients and give this Blue Moon ice cream a whirl; it’s surprisingly simple and incredibly rewarding!
For serving suggestions, this ice cream is fantastic on its own, allowing its distinctive flavor to shine. However, it also pairs wonderfully with vanilla wafers, or even a sprinkle of toasted coconut for an extra textural element. Don’t be afraid to get creative with variations! Some popular additions include a swirl of marshmallow fluff for added sweetness and chew, or a touch of almond extract to deepen the nutty undertones. You could even try a drizzle of white chocolate ganache for a decadent finish. We’re confident that once you experience the joy of homemade Blue Moon ice cream, you’ll be hooked!
Frequently Asked Questions:
Why is Blue Moon ice cream blue?
The iconic blue color of Blue Moon ice cream traditionally comes from food coloring. It’s this vibrant hue that sets it apart and makes it so instantly recognizable.
Can I make this recipe without an ice cream maker?
Absolutely! While an ice cream maker yields the smoothest texture, you can achieve a delicious no-churn Blue Moon ice cream by whipping sweetened condensed milk and heavy cream, then folding in your flavoring and coloring. Freeze and stir every hour for the first few hours to break up ice crystals.
Blue Moon Ice Cream
A vibrant and uniquely flavored ice cream with a delightful almond and vanilla essence.
Ingredients
-
2 cups heavy cream
-
1 cup whole milk
-
3/4 cup granulated sugar
-
1 teaspoon vanilla extract
-
1 teaspoon almond extract
-
Blue food coloring, as needed
-
1/4 cup maraschino cherries, chopped (optional)
Instructions
-
Step 1
In a medium bowl, whisk together the heavy cream, whole milk, granulated sugar, vanilla extract, and almond extract until the sugar is dissolved. -
Step 2
Add blue food coloring, a few drops at a time, until the desired shade of blue is achieved. Stir well. -
Step 3
If using, gently stir in the chopped maraschino cherries. -
Step 4
Pour the mixture into an ice cream maker and churn according to the manufacturer’s instructions. -
Step 5
Once churned, transfer the ice cream to an airtight container and freeze for at least 2-4 hours, or until firm.
Important Information
Nutrition Facts (Per Serving)
It is important to consider this information as approximate and not to use it as definitive health advice.
Allergy Information
Please check ingredients for potential allergens and consult a health professional if in doubt.