Quick Pickled Red Onions- Easy & Flavorful
Pickled Red Onions are the vibrant little jewels that can transform any dish from ordinary to absolutely dazzling. If you’ve ever wondered how your favorite tacos, salads, or avocado toasts get that burst of tangy sweetness and gorgeous pink hue, you’ve met these beauties. They’re not just pretty; they offer a delightful counterpoint to richness and a welcome zing that cuts through fat. What I love most about pickled red onions is their sheer versatility and the fact that they are surprisingly simple to make at home. Forget the store-bought stuff that often tastes overly vinegary. Making your own pickled red onions allows you to control the flavor profile, ensuring a perfect balance of acidity, sweetness, and a hint of spice if you desire. They are truly a kitchen superpower, ready to elevate your everyday meals with minimal effort and maximum impact. Get ready to discover why these pickled red onions will become your new favorite condiment.
Pickled Red Onions
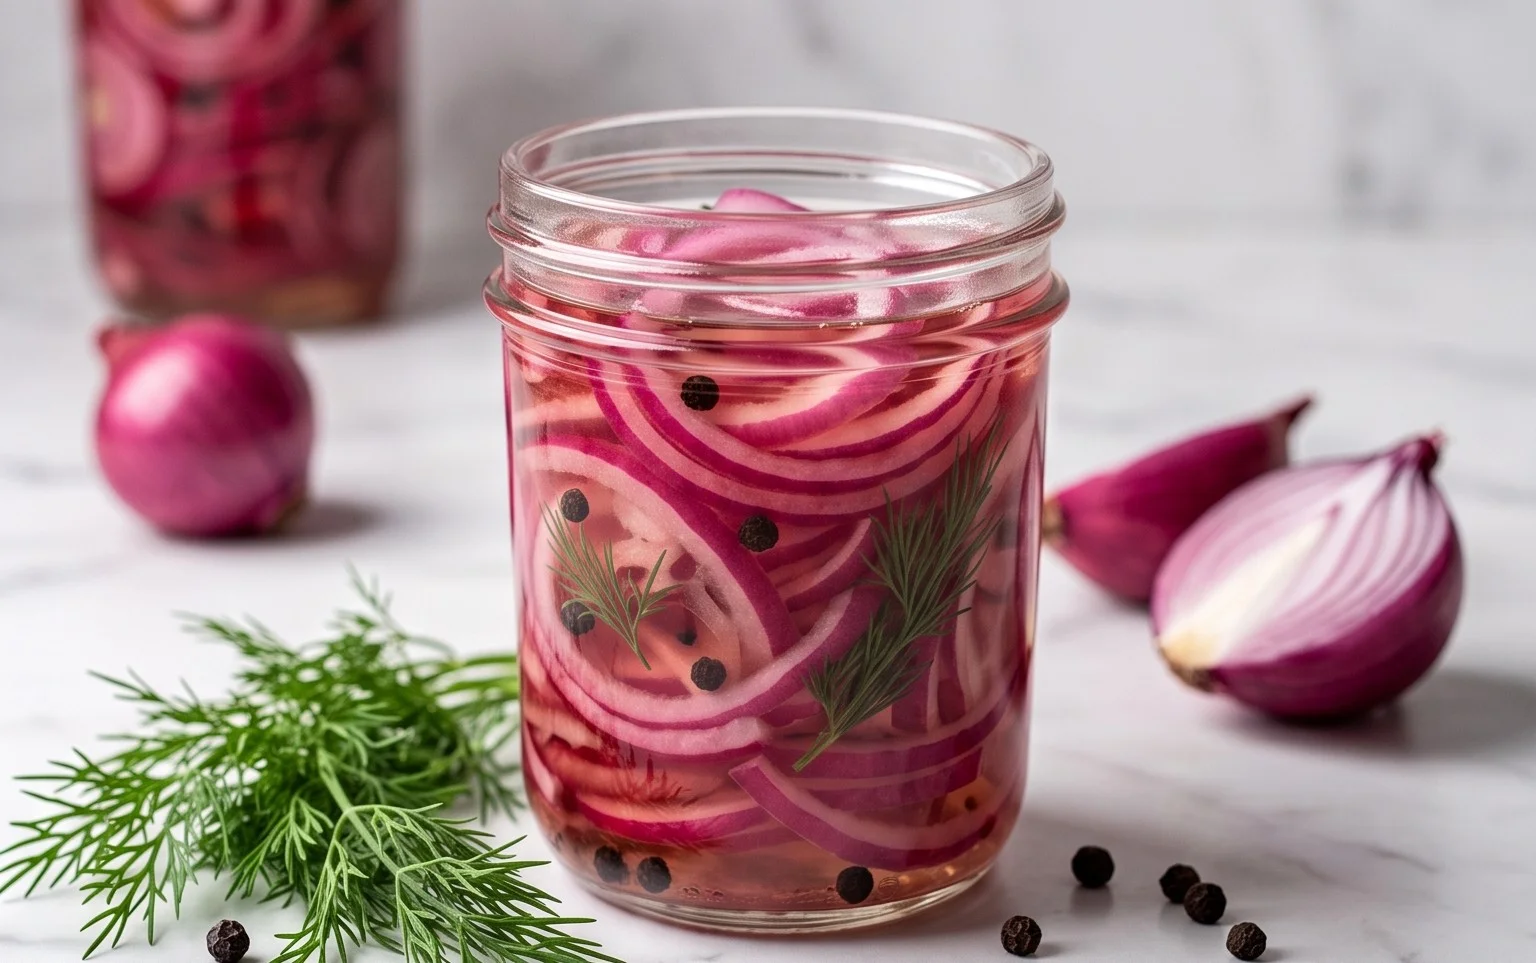
There are few kitchen staples as versatile and transformative as a jar of bright, tangy pickled red onions. These vibrant jewels aren’t just a pretty addition to your plate; they bring a delightful burst of acidity and a subtle sweetness that can elevate everything from tacos and sandwiches to salads and charcuterie boards. Forget those store-bought versions that can sometimes be overwhelmingly vinegary. Making your own is incredibly simple, requires minimal effort, and the result is so much fresher and more delicious. Plus, the visual appeal of these ruby-red rings is undeniable!
I love having a jar of these on hand. They’re my secret weapon for taking a simple meal from ordinary to extraordinary. The process is surprisingly quick, and the payoff is huge. You can whip up a batch in less time than it takes to decide what to have for dinner, and they’ll last for weeks in the refrigerator, ready to add that perfect zing whenever you need it. Let’s get pickling!
Ingredients:
The Process: Preparing Your Onions
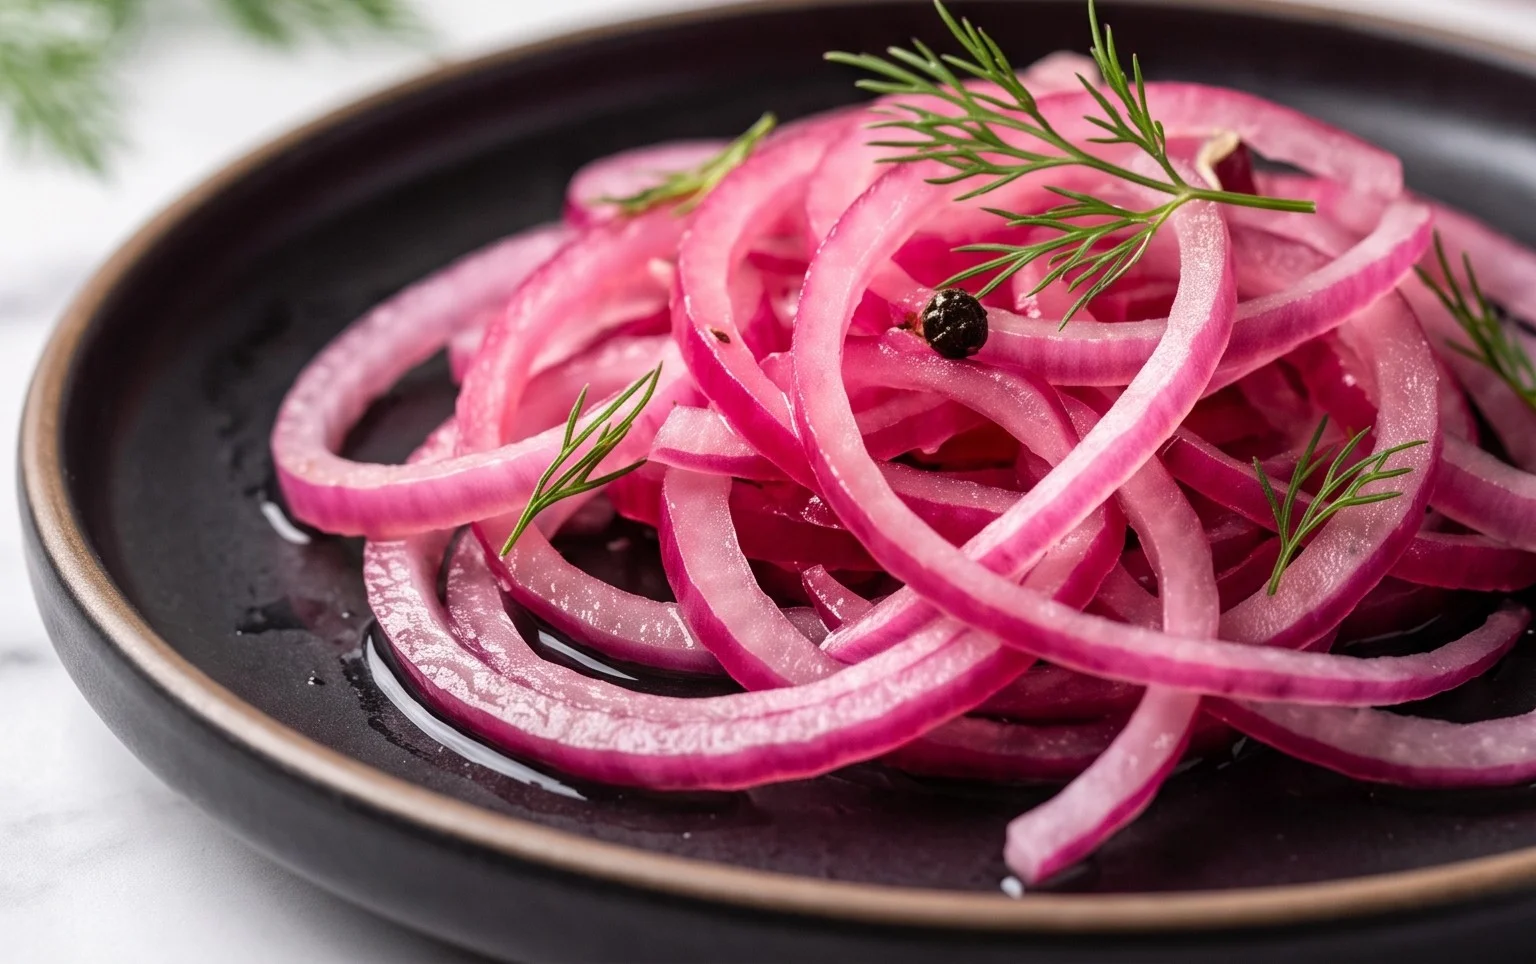
The first step in our pickling adventure is preparing the star of the show: the red onions. You want to aim for a uniform slice so that each piece pickles evenly. The best way to achieve this is to peel the onions, trim off the stem end (the part with the roots), but leave the root end intact. This helps hold the onion together as you slice it, preventing it from falling apart into disorganized pieces. Then, slice the onions thinly. A mandoline slicer is ideal for this, as it will give you perfectly even, paper-thin rings. If you don’t have a mandoline, a sharp knife will work perfectly, just take your time and try to keep the slices as consistent as possible. The thinner the slices, the quicker they will pickle and the more tender they will be. Once sliced, you can separate the rings with your fingers.
Crafting the Brine: The Heart of the Pickles
Now, let’s talk about the magic liquid that will transform our raw onions into delightful pickles: the brine. This is where all the flavor comes from. In a medium saucepan, we’re going to combine our liquids and seasonings. Pour in the 1 1/4 cups of water and the 1 1/4 cups of white vinegar. White vinegar is a classic choice for pickling because its clean, sharp flavor doesn’t compete with the other ingredients and it provides the necessary acidity for preservation. Next, we’ll add the sugar. I’ve noted “sugar (of choice)” because you can experiment here! Granulated white sugar is perfectly fine, but you could also use cane sugar for a slightly richer flavor, or even a bit of maple syrup if you want a hint of its distinctive sweetness. For this recipe, 3 tablespoons will provide a pleasant balance to the acidity of the vinegar. Then comes the salt. We’re using 1 tablespoon of sea salt. Sea salt has a cleaner flavor profile than iodized table salt and dissolves beautifully. Finally, if you enjoy a little warmth, you can add the red pepper flakes now. A quarter to a half a teaspoon is usually enough to provide a gentle kick without making the pickles overtly spicy. This addition is entirely optional, but I find it adds a lovely subtle depth.
Heating and Dissolving: Bringin extractg it all Together
With all the brine ingredients in the saucepan, it’s time to bring them together. Place the saucepan over medium heat on your stovetop. Stir the mixture occasionally as it heats up. Our goal here is not to boil the brine vigorously, but rather to heat it just enough to ensure that the sugar and salt dissolve completely. You’ll know it’s ready when you can no longer see any granules of sugar or salt at the bottom of the pan. Stirring will help speed up this process. Once everything is dissolved, remove the saucepan from the heat. Let the brine sit for a few minutes to cool down slightly. While it’s not essential for it to be completely cool, you don’t want to pour boiling hot liquid directly over your onions, as this can sometimes make them overly soft or even cook them slightly, which isn’t the desired texture for pickled onions.
Assembling Your Pickled Onions: The Final Touch
Now for the exciting part – combining the onions and the brine! Get a clean, airtight jar or container. I prefer glass jars, as they don’t absorb odors and are easy to see the beautiful color of the pickled onions. Carefully place your sliced red onion rings into the jar. Try to pack them in fairly snugly, but don’t worry if they seem a little loose. Once your onions are in the jar, it’s time to pour the warm brine over them. Carefully pour the brine into the jar, making sure that all the onion slices are submerged. If by chance you don’t have quite enough brine to cover them completely, you can quickly whip up a little more following the same proportions. Gently shake the jar or press down on the onions with a spoon to ensure they are all submerged.
The Waiting Game: Patience is a Virtue
This is perhaps the most crucial step: waiting! While you’ll see a subtle change in color pretty quickly as the onions begin extract to absorb the brine, the best flavor develops over time. Once the jar has cooled to room temperature (this usually takes about an hour or so), seal the lid tightly and transfer the jar to the refrigerator. For the most vibrant flavor and best texture, I recommend letting them pickle for at least a few hours, but ideally overnight. The longer they sit, the more the flavors will meld and the more tender the onions will become. You’ll notice the onions will deepen in color, becoming a more intense ruby-red. After about 24 hours, they’ll be ready to enjoy.
Storage and Enjoyment: A Kitchen Essential
Once your pickled red onions are ready, they will keep in the refrigerator for several weeks, typically up to 3-4 weeks. They will continue to soften slightly as they sit, so the texture will change a bit over time. Don’t be surprised if you find yourself reaching for them more often than you initially thought! They are fantastic on avocado toast, as a topping for burgers and hot dogs, mixed into potato salad or coleslaw, scattered over a grain bowl, or as a vibrant accompaniment to any Mexican-inspired dish. They add a bright, refreshing contrast to rich or savory flavors. So, go ahead, make a batch, and get ready to add a delightful pop of flavor and color to all your meals!
Conclusion:
And there you have it – your guide to creating the most vibrant and flavorful pickled red onions! This simple recipe is an absolute game-changer in my kitchen, transforming ordinary dishes into something truly special. The perfect balance of tangy vinegar, subtle sweetness, and the crisp crunch of fresh red onions makes them an indispensable condiment. I love having a jar of these ready to go, as they add an instant pop of color and flavor to everything from tacos and salads to sandwiches and avocado toast. Don’t be afraid to get creative with your own unique variations – think about adding a pinch of chili flakes for a kick or some fresh herbs like dill for a different aromatic profile. I truly encourage you to give this pickled red onion recipe a try; it’s incredibly rewarding and surprisingly easy to master. Get ready to elevate your meals!
Frequently Asked Questions:
How long do pickled red onions last?
When stored properly in an airtight container in the refrigerator, these pickled red onions can last for up to 2-3 weeks. The acidity of the brine acts as a natural preservative, but their crispness will diminish over time.
Can I adjust the sweetness of the brine?
Absolutely! The sweetness is easily adjustable to your preference. If you prefer them less sweet, start with a tablespoon of sugar and taste the brine before pouring it over the onions. You can always add a little more to achieve your desired sweetness level.
What if I don’t have red grape juice vinegar?
While red grape juice vinegar provides a lovely color and depth, you can substitute it with other vinegars like apple cider vinegar or white grape juice vinegar. The color might be slightly different, but the tangy flavor will still be delicious.
Pickled Red Onions
Quick and easy pickled red onions, perfect for topping tacos, salads, sandwiches, and more.
Ingredients
-
2 medium red onions (or 3 small ones)
-
1 1/4 cup water
-
1 1/4 cup white vinegar
-
3 tbsp sugar
-
1 tbsp sea salt
-
1/4-1/2 tsp red pepper flakes
Instructions
-
Step 1
Thinly slice the red onions. A mandoline is helpful for consistent slicing. -
Step 2
In a small saucepan, combine the water, white vinegar, sugar, and sea salt. -
Step 3
Heat the mixture over medium heat, stirring until the sugar and salt are completely dissolved. Do not boil. -
Step 4
If using, add the red pepper flakes to the brine. -
Step 5
Place the sliced red onions into a clean jar or heat-safe container. -
Step 6
Pour the hot brine over the onions, ensuring they are fully submerged. -
Step 7
Let the mixture cool to room temperature, then cover the container and refrigerate for at least 30 minutes before serving. They will continue to pickle and develop flavor in the refrigerator.
Important Information
Nutrition Facts (Per Serving)
It is important to consider this information as approximate and not to use it as definitive health advice.
Allergy Information
Please check ingredients for potential allergens and consult a health professional if in doubt.