Easy Chia Seed Pudding Recipe-Healthy Breakfast
Chia seed pudding recipe. Ah, the magic of chia seeds! If you’re looking for a breakfast or snack that’s as effortless as it is delicious, you’ve landed in the right place. I’ve fallen head over heels for this versatile dish, and I’m pretty sure you will too. Why is chia seed pudding so beloved? It’s incredibly simple to prepare, requiring no cooking whatsoever. Just combine, stir, and let the tiny seeds work their magic, transforming into a thick, creamy, tapioca-like texture. What truly sets this chia seed pudding recipe apart is its nutritional punch and adaptability. Packed with fiber, omega-3 fatty acids, and protein, it’s a fantastic way to fuel your day. Plus, the base is wonderfully neutral, allowing you to customize it with any flavors or toppings your heart desires. Get ready to discover your new go-to healthy indulgence!
Ingredients:
Let’s talk about chia seed pudding. It’s one of those magical breakfast or snack options that feels indulgent but is actually incredibly good for you. It’s also ridiculously simple to make, requiring almost no active cooking time. All you really need is a bit of foresight to let it do its thing in the fridge overnight, or at least for a few hours. The beauty of chia seed pudding lies in its versatility. You can play with the type of milk, the sweetener, and of course, the toppings. This base recipe is your blank canvas for deliciousness.
The star of this show, the humble chia seed, is packed with fiber, omega-3 fatty acids, and protein. When combined with liquid, these tiny seeds swell up and create a gel-like consistency, transforming into a delightful pudding that’s both satisfying and nutritious. It’s a fantastic way to sneak in extra goodness, especially if you’re looking for a breakfast that will keep you full until lunchtime or a healthy dessert option. The maple syrup adds a touch of sweetness, but feel free to adjust this to your liking or even use a sugar-free alternative if you prefer. Vanilla extract is a classic for a reason, adding a warm, comforting aroma and flavor that complements the subtle nuttiness of the chia seeds. And the milk? This is where you can really customize. Almond milk offers a light, nutty base, oat milk provides a creamier texture, and coconut milk can lend a tropical, rich flavor. Experimentation is key to finding your perfect pudding!
Preparing Your Delicious Chia Seed Pudding
This recipe is designed for ease and minimal fuss. The primary step is simply combining the ingredients and allowing them to meld together. It’s the perfect recipe for those busy mornings when you need something quick and healthy. You don’t need any fancy equipment, just a bowl or jar and a spoon. The magic happens as the chia seeds absorb the liquid, creating that signature pudding texture.
Step 1: Combine the Dry Ingredients
Start by grabbing a medium-sized bowl or a jar with a lid. This is where you’ll do your mixing. First, measure out your 3 tablespoons of chia seeds and add them to the bowl. If you’re using a jar, you can add them directly into the jar. Next, add the 1 tablespoon of maple syrup. Remember, this is a suggestion, and you can always add more or less depending on how sweet you like your pudding. For those who prefer a less sweet option, a sugar substitute or even a touch of honey (if not vegan) can work just as well. Finally, add the 1 teaspoon of vanilla extract. The vanilla not only enhances the flavor but also adds a wonderful aroma as you prepare the pudding.
Step 2: Add Your Liquid Base
Now it’s time to introduce the liquid. Pour your 3/4 cup of milk of choice over the dry ingredients. Whether you’re opting for dairy milk, almond milk, oat milk, soy milk, or coconut milk, the process remains the same. For a richer, creamier pudding, I often lean towards full-fat coconut milk from a can (just the creamy part, not the watery liquid) or a good quality oat milk. If you’re aiming for a lighter option, almond milk or skim dairy milk works beautifully. Ensure you get the full 3/4 cup in there, as this is crucial for the chia seeds to absorb the liquid properly and achieve the desired pudding consistency.
Step 3: Whisk or Stir Thoroughly
This is a critical step for preventing clumps. Grab a whisk or a spoon and stir everything together very well. You want to make sure the chia seeds are fully submerged in the liquid and that there are no dry pockets of seeds clingin extractg to the bottom or sides of the bowl. Give it a good, vigorous stir for about 30 seconds to a minute. Pay special attention to the bottom of the bowl to ensure no chia seeds are sticking together. If you’re using a jar, you can simply put the lid on tightly and shake it well for the same amount of time. The goal here is to distribute the seeds evenly throughout the liquid.
Step 4: Let it Sit and Stir Again (The “Blooming” Phase)
This is where the magic starts to happen, but it requires a little patience. Let the mixture sit undisturbed for about 5 to 10 minutes. During this time, you’ll notice the chia seeds starting to absorb the liquid and swell. After this initial resting period, take your whisk or spoon and stir everything together again. This second stir is just as important as the first. It helps to break up any clumps that may have started to form as the seeds began to gel. You might see that the mixture has already thickened slightly. Give it another good stir for about 30 seconds.
Step 5: Chill Until Thickened
Once you’ve completed your second stir, cover the bowl or screw the lid onto your jar. Place it in the refrigerator. Now comes the longest part of the “cooking” process: waiting. For the best pudding consistency, I recommend chilling it for at least 4 hours, but overnight is truly ideal. The longer it sits, the thicker and more pudding-like it will become. When you take it out of the fridge, it should have a thick, gel-like consistency. If it’s still too thin for your liking, you can always stir in another teaspoon of chia seeds and let it chill for another hour or so. However, with the recommended proportions, you should achieve a perfect pudding texture.
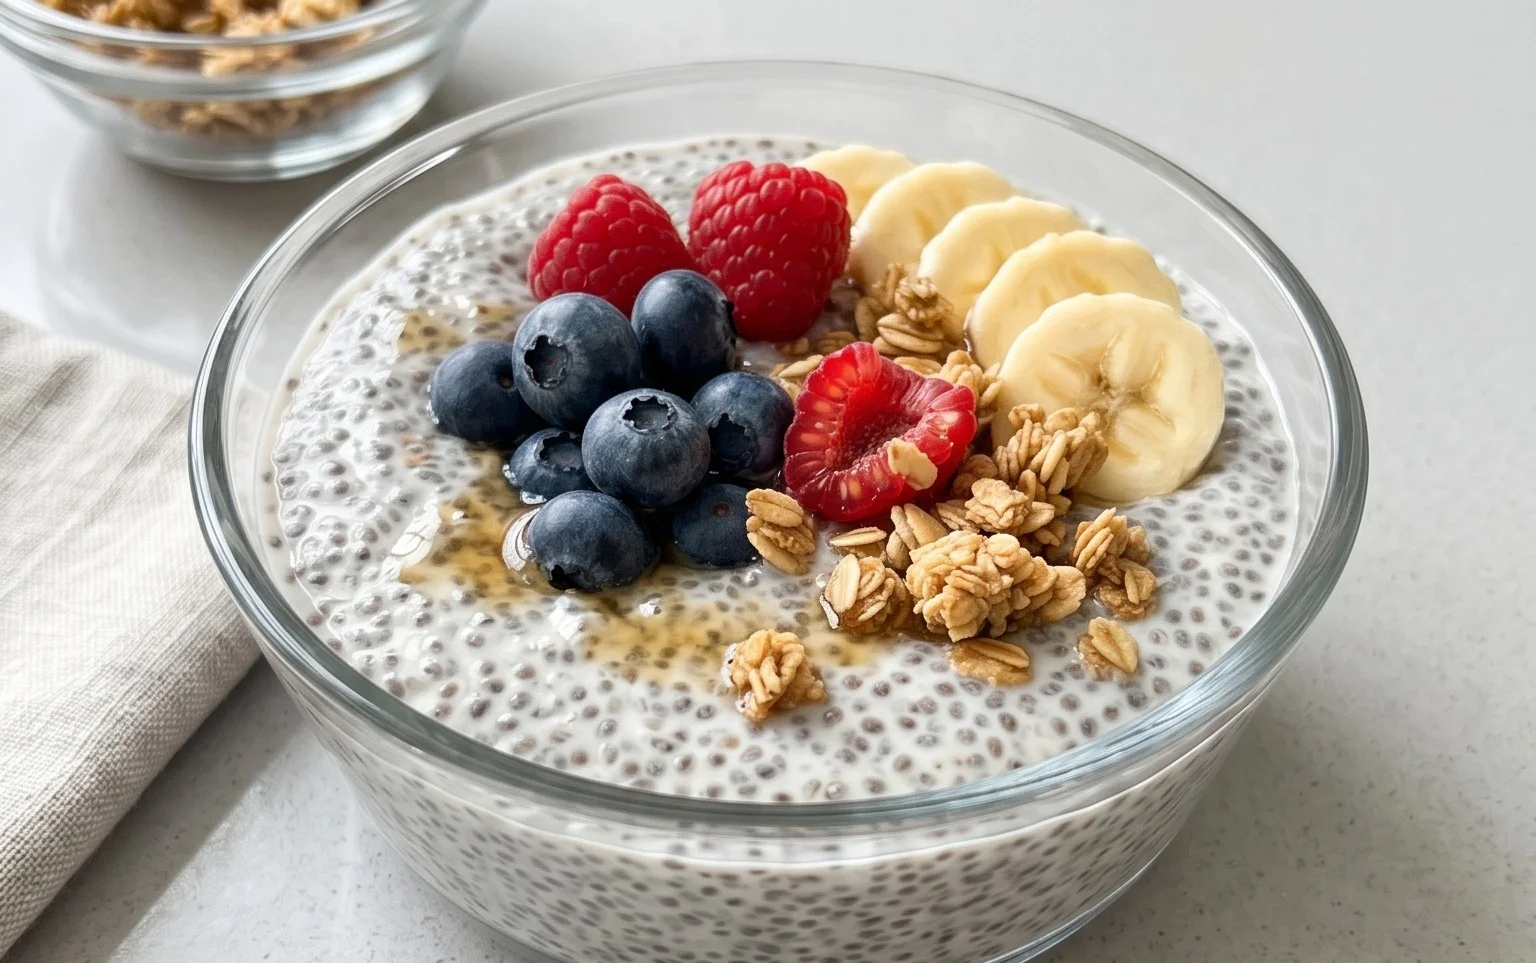
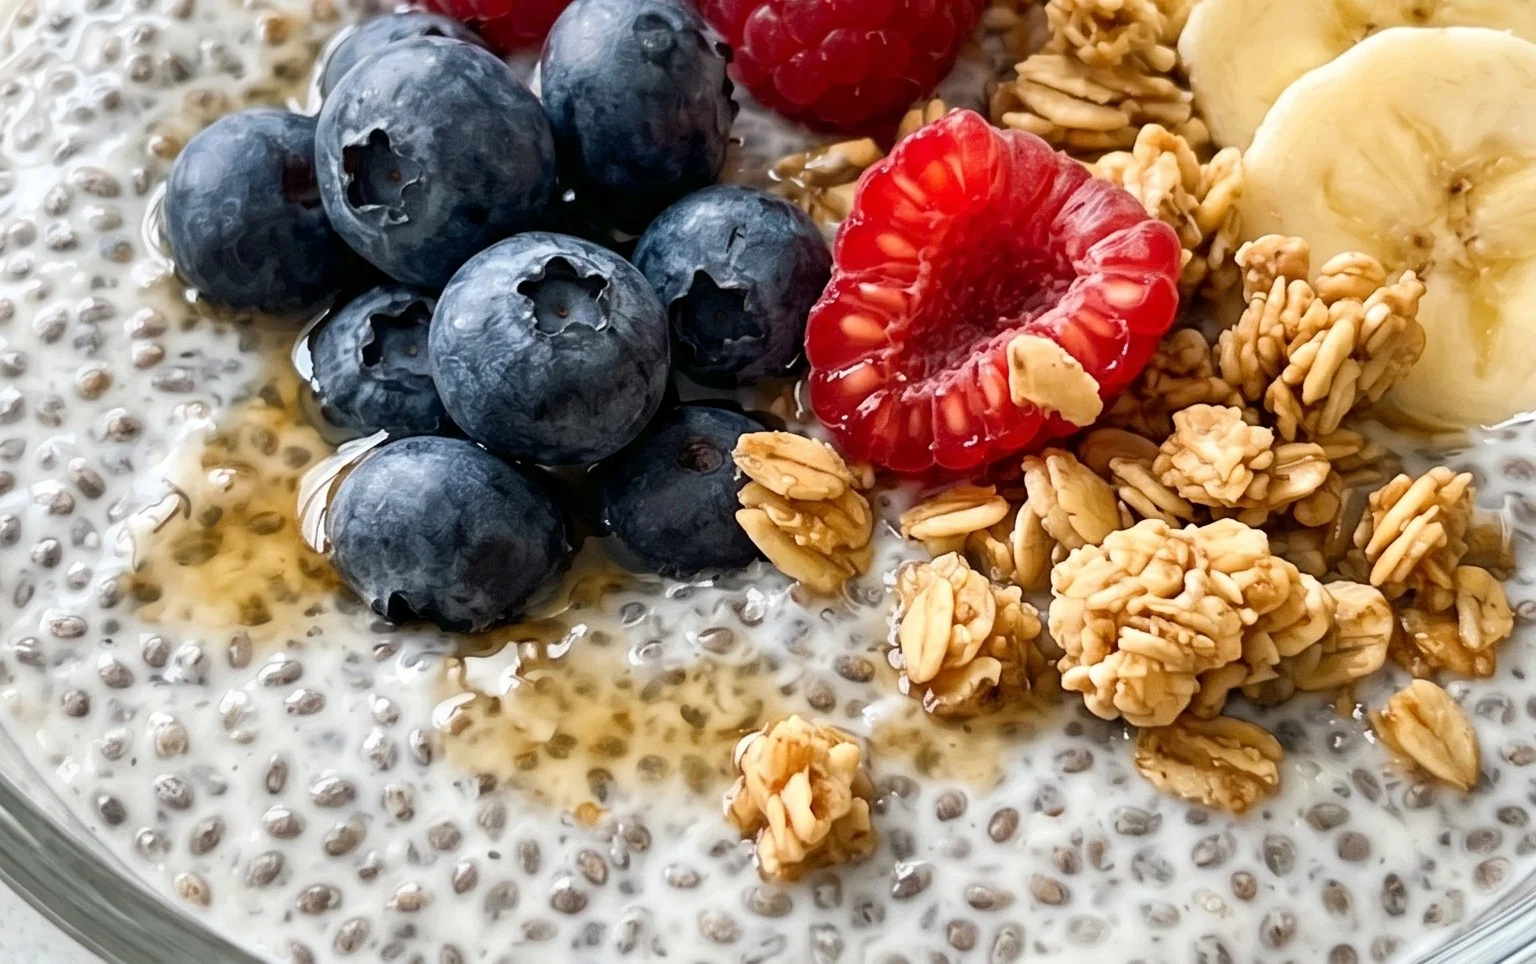
Once your chia seed pudding has reached your desired consistency, it’s ready to be enjoyed! You can serve it directly from the bowl or jar. This recipe is fantastic on its own, but it truly shines when you add your favorite toppings. Think fresh berries, sliced banana, a sprinkle of granola for crunch, a dollop of yogurt, a drizzle of nut butter, or even a few dark chocolate chips. The possibilities are endless, and they allow you to transform your basic chia seed pudding into a completely new creation each time. Enjoy this simple, healthy, and utterly delicious treat!
Conclusion:
There you have it! A simple yet incredibly rewarding chia seed pudding recipe that’s a true game-changer for your breakfast or snack routine. This delightful dish is fantastic because it requires minimal effort, offering a burst of healthy fats, fiber, and protein without any cooking required. Its creamy texture and versatility make it a canvas for countless delicious toppings and flavor combinations. Don’t be afraid to get creative! I love mine topped with fresh berries, a sprinkle of granola, and a drizzle of honey for a satisfying crunch and sweetness. For a tropical twist, try adding mango and shredded coconut. If you’re feeling decadent, a swirl of nut butter and dark chocolate chips is always a winner. I truly encourage you to give this recipe a try. It’s a perfect example of how healthy eating can also be incredibly easy and delicious. Experiment, have fun, and enjoy your homemade goodness!
Frequently Asked Questions about Chia Seed Pudding:
How long does chia seed pudding last in the refrigerator?
Chia seed pudding is best enjoyed within 3-4 days when stored in an airtight container in the refrigerator. The chia seeds will continue to absorb liquid and thicken over time, so the texture might change slightly the longer it sits.
Can I make chia seed pudding with water instead of milk?
Absolutely! While milk (dairy or non-dairy) provides a creamier texture and added nutrients, you can definitely use water. However, the pudding will be less rich and creamy. For a balanced approach, you could try a 50/50 mix of water and milk or add a touch more sweetener and flavoring to compensate.
My chia seed pudding is too thick or too thin. How can I fix it?
If your pudding is too thick, simply stir in a little more liquid (milk, water, or juice) until you reach your desired consistency. If it’s too thin, allow it to sit for another 10-15 minutes, as the chia seeds may still be absorbing liquid. If it’s still too thin after that, you can stir in another tablespoon of chia seeds and let it sit for at least 30 minutes to an hour before consuming.
Chia Seed Pudding Recipe
A simple and healthy chia seed pudding recipe that can be customized with your favorite milk and sweeteners.
Ingredients
-
3 tablespoons chia seeds
-
1 tablespoon maple syrup
-
1 teaspoon vanilla
-
3/4 cup almond milk
-
1/4 cup fresh berries
-
1 tablespoon chopped nuts
Instructions
-
Step 1
In a bowl or jar, combine the chia seeds, maple syrup, and vanilla extract. -
Step 2
Add your milk of choice and stir thoroughly to ensure no clumps of chia seeds. -
Step 3
Let the mixture sit for about 5 minutes and stir again. This helps prevent clumping. -
Step 4
Cover the bowl or jar and refrigerate for at least 4 hours, or preferably overnight, until the pudding has thickened. -
Step 5
Before serving, give the pudding a good stir. -
Step 6
Top with fresh berries and chopped nuts, or your favorite toppings.
Important Information
Nutrition Facts (Per Serving)
It is important to consider this information as approximate and not to use it as definitive health advice.
Allergy Information
Please check ingredients for potential allergens and consult a health professional if in doubt.