Easily Freeze Peaches – Delicious Preserving Tips
Freezing peaches is a fantastic way to capture the sweet, sun-ripened essence of summer and enjoy it all year round. Imagin extracte reaching into your freezer in the depths of winter and pulling out a bag of perfectly preserved peaches, ready to be transformed into vibrant smoothies, delectable pies, or even a comforting cobbler. We all adore peaches for their juicy, tender flesh and that unmistakable floral aroma. What makes this particular method of freezing peaches so special is its simplicity and effectiveness. You don’t need fancy equipment or complicated steps; just a few basic supplies and a little bit of time will allow you to create a stash of frozen peach goodness that will undoubtedly bring smiles to your face, season after season.
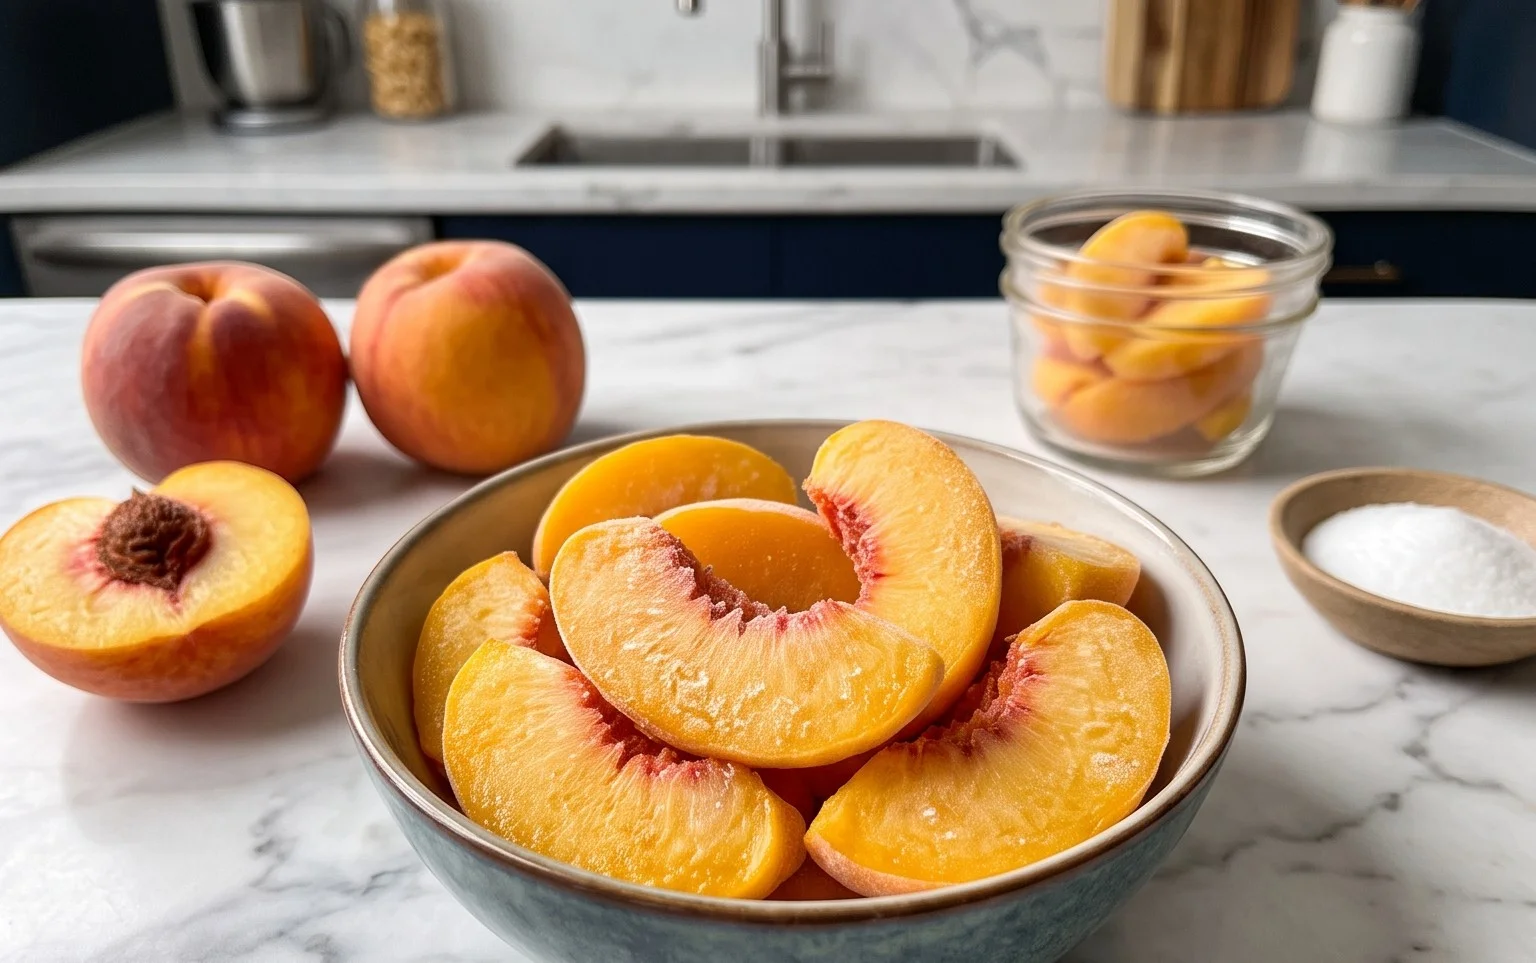
Ingredients:
Freezing Peaches: How to Easily Freeze Peaches
There’s nothing quite like the taste of fresh, sun-ripened peaches. Whether they’re bursting with sweetness straight from the tree or picked up from your local farmer’s market, their juicy goodness is a hallmark of summer. But what happens when you find yourself with a bounty of peaches that you simply can’t eat all at once? Freezing is your secret weapon! Freezing peaches is incredibly easy, and it allows you to capture that peak-season flavor to enjoy in smoothies, pies, cobblers, and more, all year round. Forget about bruised or overripe fruit going to waste; with a little preparation, you can have a freezer full of delicious frozen peaches ready for whenever a craving strikes. Let’s dive into how to preserve this delightful fruit.
Preparing Your Peaches for Freezing
The first step in freezing peaches is to prepare them properly. This involves washing, peeling, pitting, and slicing. Don’t worry, it’s not as daunting as it sounds, and a few simple tools make the process smooth. I find that using a sharp paring knife is the most effective way to peel them after blanching.
Step 1: Wash and Blanch Your Peaches
Begin extract by washing your peaches thoroughly under cool running water. This removes any dirt or residue. Next, you’ll want to blanch them. To do this, bring a large pot of water to a rolling boil. While the water heats up, prepare an ice bath by filling a large bowl with ice and water. Carefully drop a few peaches at a time into the boiling water. Let them sit for about 30 to 60 seconds, just until the skins begin extract to loosen. You’ll see the skin start to wrinkle slightly. Using a slotted spoon or a spider strainer, carefully remove the peaches from the boiling water and immediately plunge them into the ice bath. This shocking process stops the cooking and makes peeling a breeze. Let them cool in the ice bath for a few minutes.
Step 2: Peel, Pit, and Slice
Once the peaches are cool enough to handle, the skins should slip off easily with just a gentle pull or by using your paring knife. Discard the skins. Next, cut the peach in half along the seam and twist the halves to separate them. The pit should then be easy to remove. You can scoop it out with a spoon or cut around it. Now, decide how you want to slice your peaches. For most uses, slicing them into wedges or about 1/2-inch thick pieces works wonderfully. You can also dice them if that’s more suitable for your intended recipes. Try to keep the slices relatively uniform in size so they freeze evenly.
Step 3: Treat with Fruit Protector and Sugar
This is where the magic happens to prevent browning and preserve that vibrant peach flavor. In a large bowl, gently toss your prepared peach slices with the sugar. The sugar acts as a preservative and helps create a delicious syrup as the peaches freeze. Then, sprinkle the Fruit Protector over the peaches and gently toss again to ensure an even coating. Fruit Protector is fantastic because it helps to prevent oxidation, which is what causes fruit to turn brown and lose its appealing color and flavor. Don’t skip this step if you want your frozen peaches to look as good as they taste when you thaw them out. I find that using my hands is the best way to gently coat all the peach pieces without bruising them.
Step 4: Pack for Freezing
Now it’s time to get your peaches ready for their journey to the freezer. You have a couple of excellent options here, depending on how you plan to use them.
Option A: Individual Quick Freezing (IQF) Method
This method is perfect if you want to be able to grab just a handful of peaches for a smoothie. Spread the treated peach slices in a single layer on a baking sheet lined with parchment paper. Make sure the slices aren’t touching each other. Place the baking sheet in your freezer for about 2 to 3 hours, or until the peach slices are firm and frozen. Once they are individually frozen, you can then transfer them to airtight freezer bags or containers. This prevents them from clumping together into one giant frozen mass.
Option B: Packing in Syrup or Dry Pack
If you prefer to pack them more densely, you can pack them directly into freezer bags or containers. If you used the sugar and Fruit Protector mixture, you’ll notice a light syrupy coating forming. Gently spoon the peaches and any accumulated syrup into your chosen freezer containers, leaving about 1/2 inch of headspace at the top to allow for expansion. Alternatively, if you opted for a less sweet approach, you can pack them into containers without significant syrup. Ensure you remove as much air as possible from the bags to prevent freezer burn.
Step 5: Label and Freeze
Once your peaches are packed into their freezer-safe containers or bags, it’s crucial to label them. Include the date you froze them and the contents (e.g., “Frozen Peaches – Sugar Pack”). This will help you keep track of your frozen goods and use them within their optimal quality timeframe, which is typically 8-12 months for best flavor. Place the containers or bags in your freezer. For the IQF method, once they are frozen solid on the baking sheet, transfer them to their final freezer storage containers.
Enjoy the fruits of your labor throughout the year, knowing you’ve preserved the sweet taste of summer! These frozen peaches will be a welcome addition to countless recipes.
Conclusion:
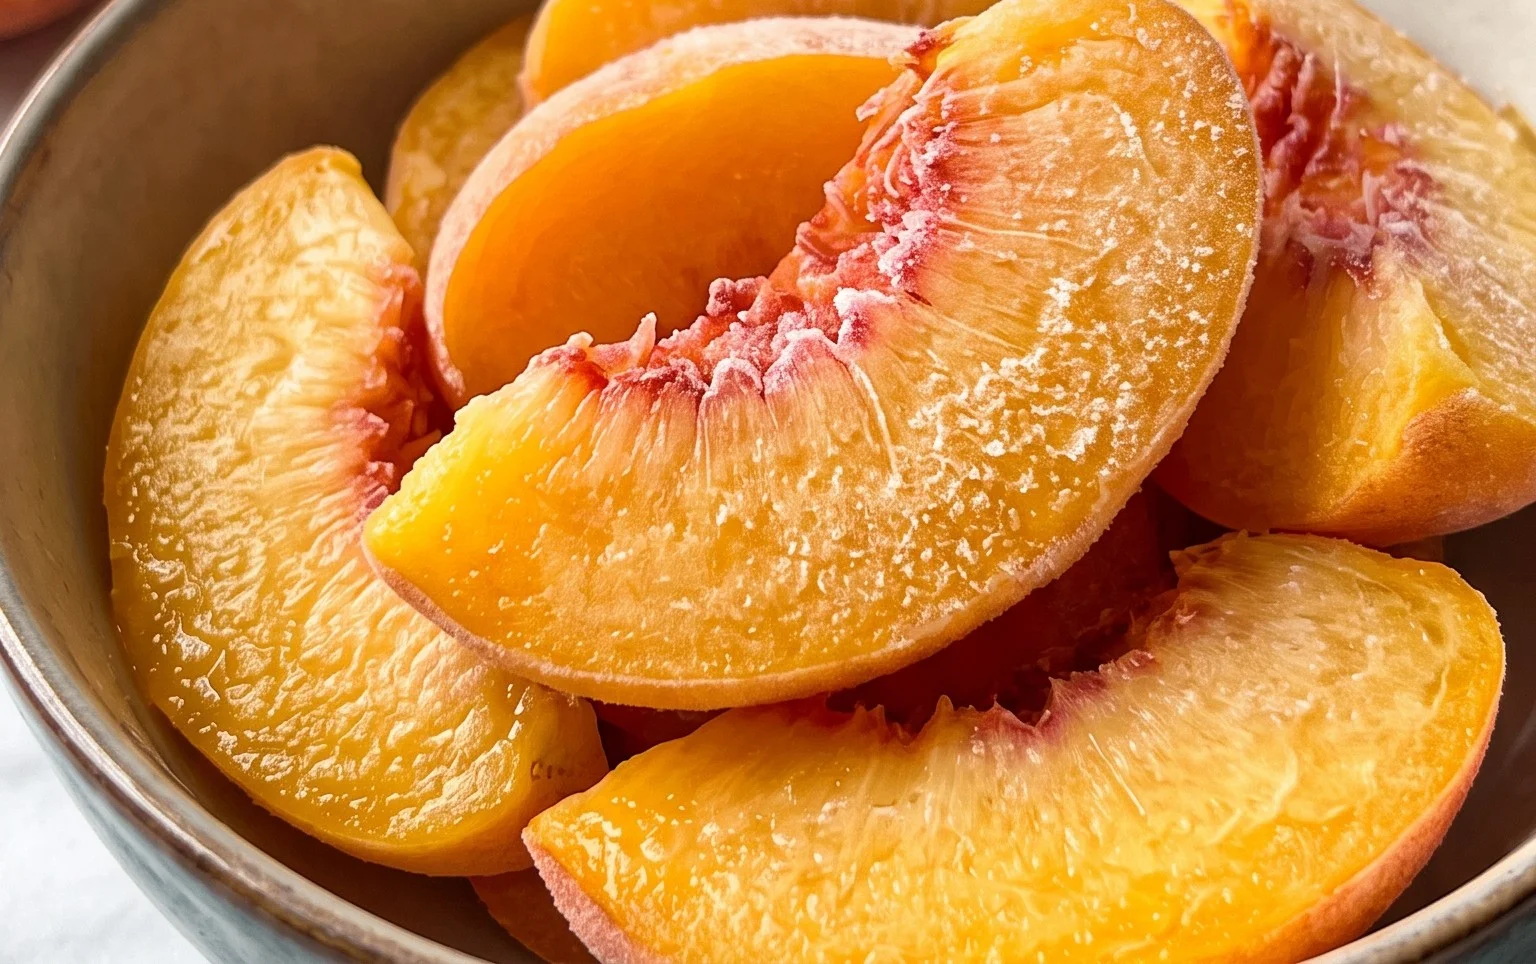
Freezing peaches is an incredibly simple and rewarding way to preserve the sweet, juicy goodness of this summer fruit. By following these easy steps, you can ensure you have delicious peaches readily available for smoothies, pies, cobblers, and more, long after the season has ended. This method is fantastic because it maintains the fruit’s vibrant flavor and texture, making it almost as good as fresh. Imagin extracte biting into a perfectly ripe peach in the dead of winter – it’s truly a treat!
Once your peaches are frozen, the possibilities are endless. They are perfect for blending into thick, creamy smoothies, baking into comforting pies and crum extractbles, or folding into yogurt for a delightful breakfast. For a simpler treat, try them thawed and served with a dollop of whipped cream or a sprinkle of cinnamon. Don’t be afraid to experiment! You can also try adding a touch of sugar or lemon juice before freezing for added sweetness and to prevent browning. I highly encourage you to give this method a try; you’ll be so glad you did when you can enjoy the taste of summer anytime!
Frequently Asked Questions:
Q1: Do I need to peel the peaches before freezing?
While it’s not strictly necessary, peeling your peaches before freezing will result in a more pleasant texture when you use them. A quick blanch in boiling water followed by an ice bath makes peeling effortless. However, if you’re primarily using them for smoothies or baked goods where the skins won’t be noticeable, you can skip this step to save time.
Q2: How long can I store frozen peaches?
Properly frozen peaches can maintain their quality for 8 to 12 months when stored in airtight containers or freezer bags in your freezer. For the best flavor and texture, it’s advisable to consume them within a year.
How to Easily Freeze Peaches
Learn the simple steps to freeze fresh peaches at home, preserving their delicious flavor for future use in pies, smoothies, and more.
Ingredients
-
1 quart ripe peaches, washed, peeled, pitted, and sliced
-
2/3 cup granulated sugar
-
3 teaspoons Fruit Protector (or lemon juice)
-
1 tablespoon water (optional, for syrup)
-
1 cup water (optional, for syrup)
-
1/2 cup granulated sugar (optional, for syrup)
Instructions
-
Step 1
Prepare the peaches: Wash, peel, pit, and slice the ripe peaches into desired sizes. -
Step 2
Coat the peaches: In a large bowl, gently toss the peach slices with the granulated sugar and Fruit Protector (or lemon juice). Ensure all slices are lightly coated. -
Step 3
Prepare for freezing (Dry Pack Method): Arrange the coated peach slices in a single layer on a baking sheet lined with parchment paper. Avoid overcrowding. -
Step 4
Pre-freeze: Place the baking sheet in the freezer for 1-2 hours, or until the peaches are frozen solid. -
Step 5
Package for storage: Once frozen, transfer the peach slices into airtight freezer bags or containers. Remove as much air as possible before sealing. -
Step 6
Label and store: Label the bags or containers with the date and contents. Store in the freezer for up to 10-12 months. -
Step 7
Optional Syrup Pack: For a sweeter pack, dissolve 1 cup of sugar in 1 cup of water and 1 tablespoon of water (if using) over medium heat. Let cool completely. Pour over coated peaches before freezing.
Important Information
Nutrition Facts (Per Serving)
It is important to consider this information as approximate and not to use it as definitive health advice.
Allergy Information
Please check ingredients for potential allergens and consult a health professional if in doubt.